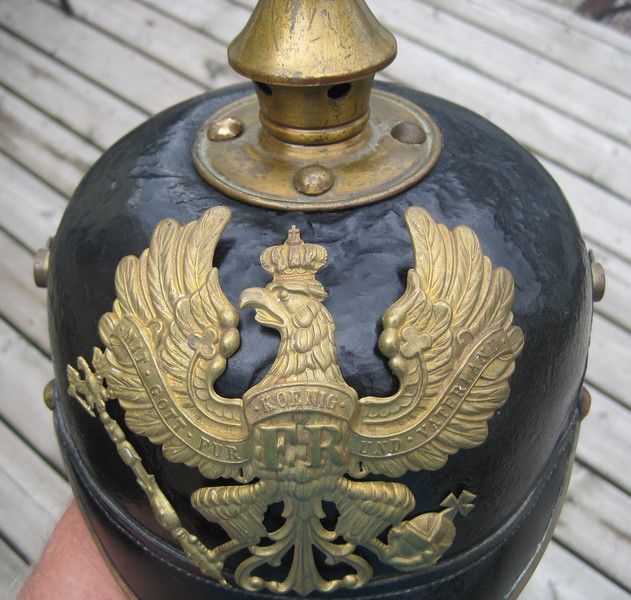
Most of my restoration work involves helmets from the good old USA but occasionally, I get one from a bit further away. As the title of the post suggests, this one is from Australia! This helmet has some unusual characteristics: it is dated 1917, has an M15 style un dyed liner and something I have never seen...one steel grommet and one brass grommet for the wappen. As will be seen in the pictures there is also a black flat head split brad filling in a hole beside the brass grommet. I have seen these black brads before on helmets so no surprise. The brass fittings despite the one steel grommet are original to the helmet, the piece has not been messed with by some collector. The helmet was sent to me primarily to have the rear visor restitched but other problems arose. So, let's take a look at the before fotos:
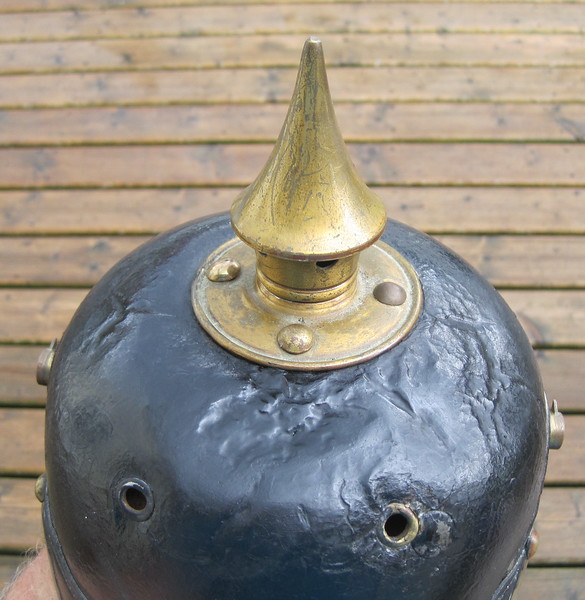
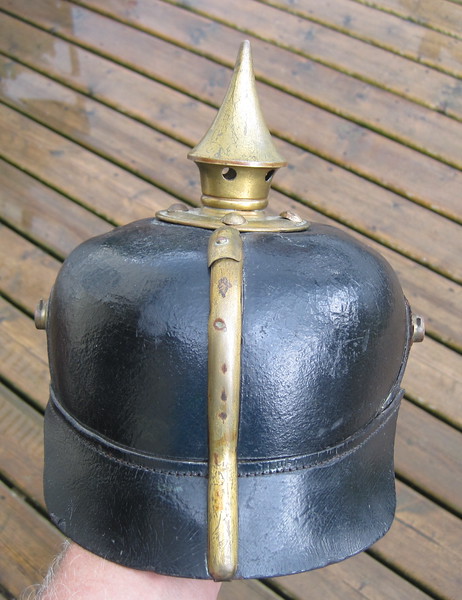
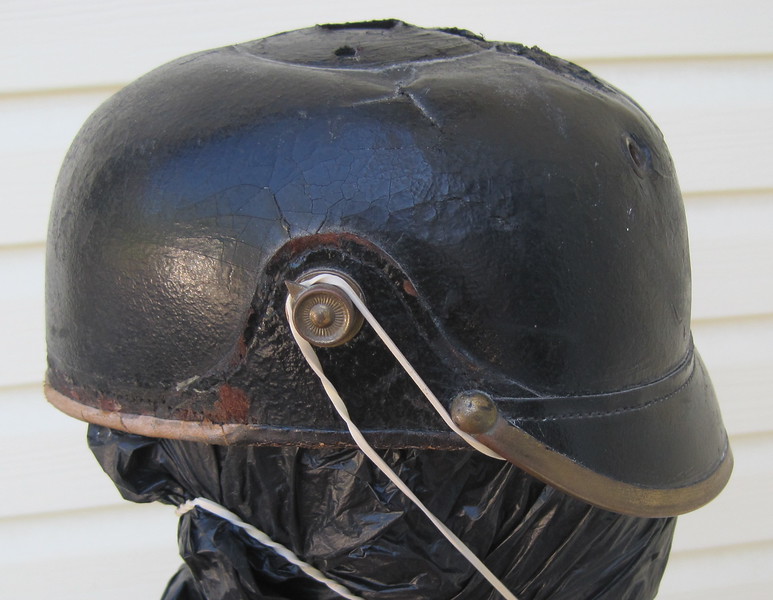
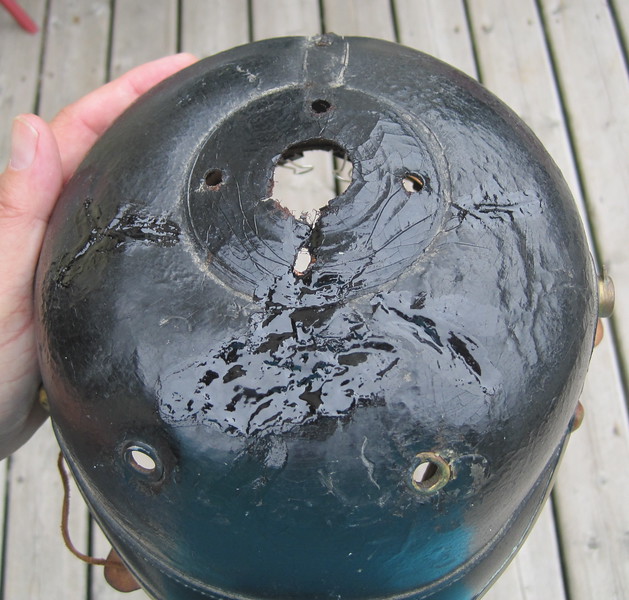
The wappen was not sent with the piece but the spike assembly was. We can see the 2 contrasting grommets here plus the flat brad and a collapsed/pushed in shell top. The missing areas in the shell are going to be replaced with new leather glued into place
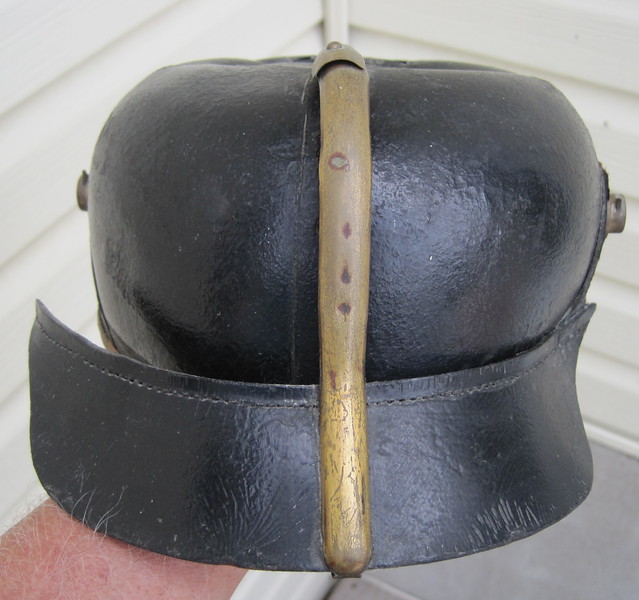
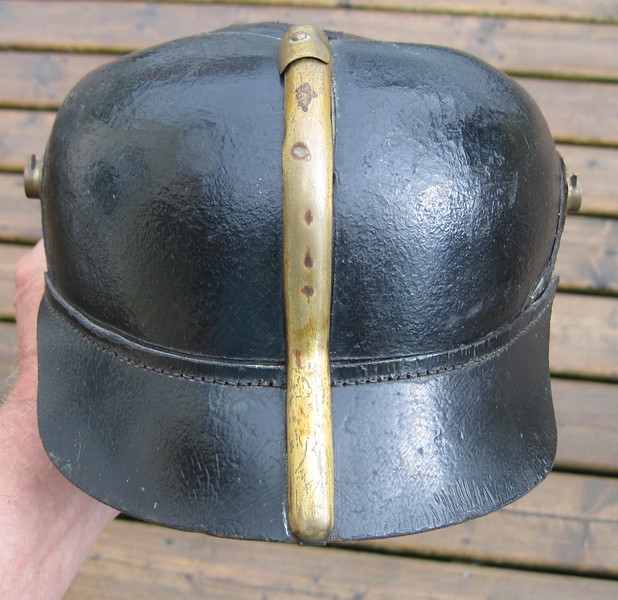
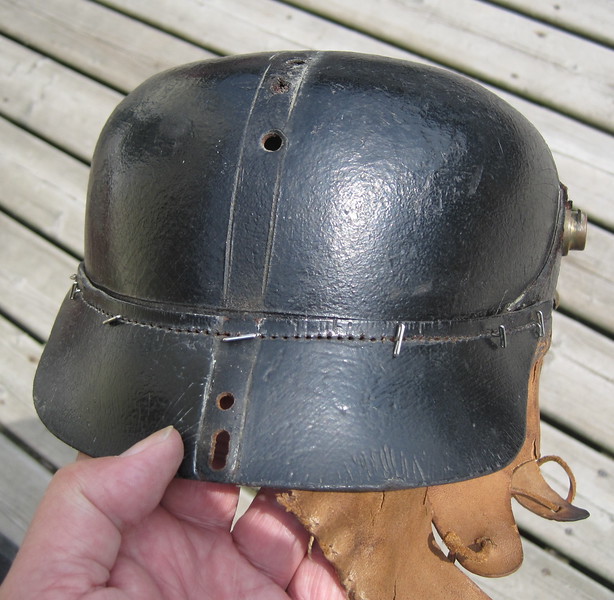
The rear visor needs restitching but the brass spine also needs a bit of re soldering as the split prong brad has detached but it is still there (yaa!). The right corner of the visor was glued to the shell by some previous owner...ugh!!
The collapsed top has to be dealt with first...the area was wet then placed on a head form with some "elastic pressure" A plastic bag is put on the form so the styrofoam does not stick to the leather. The depressed/cracked area in the foreground was also wet later and pushed back into place.
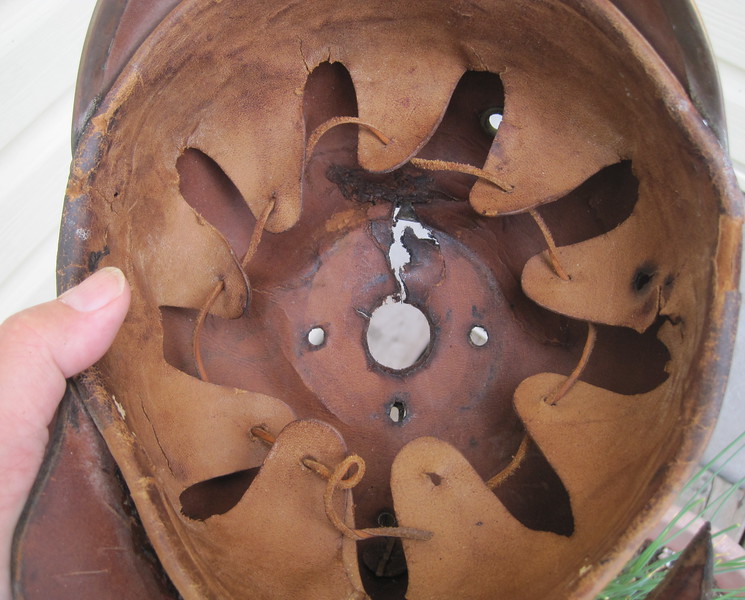
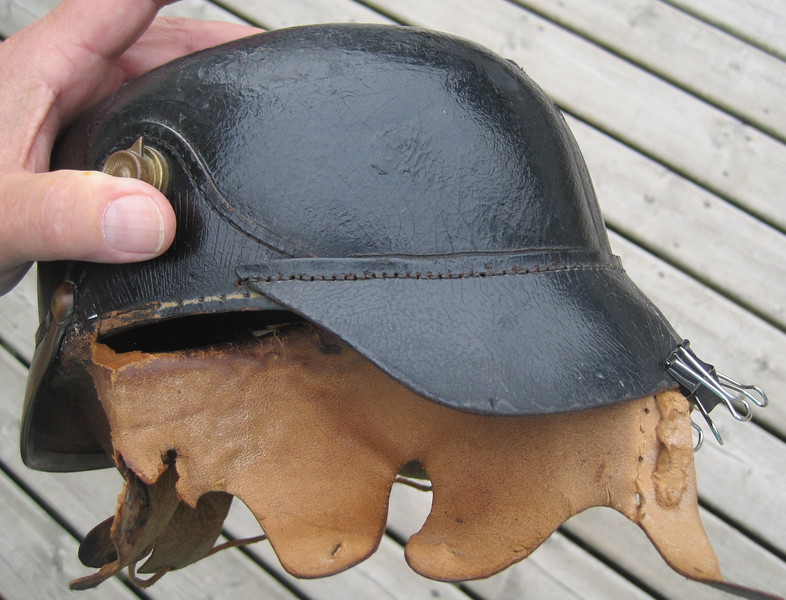
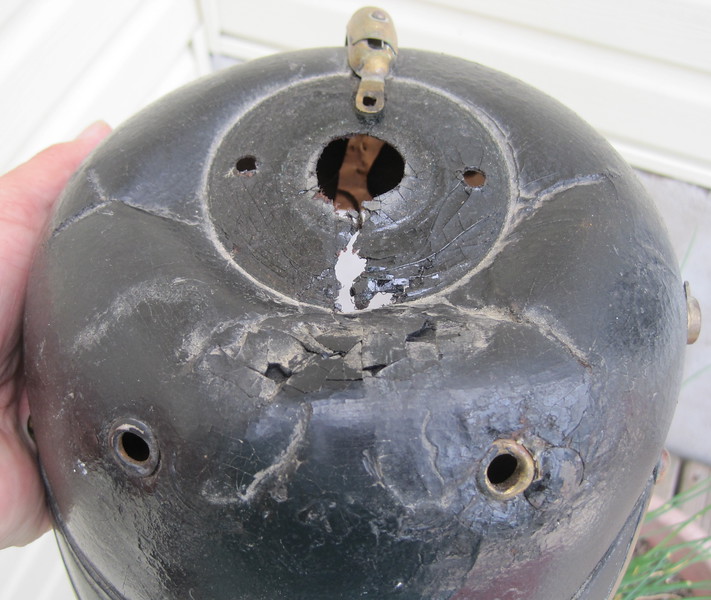
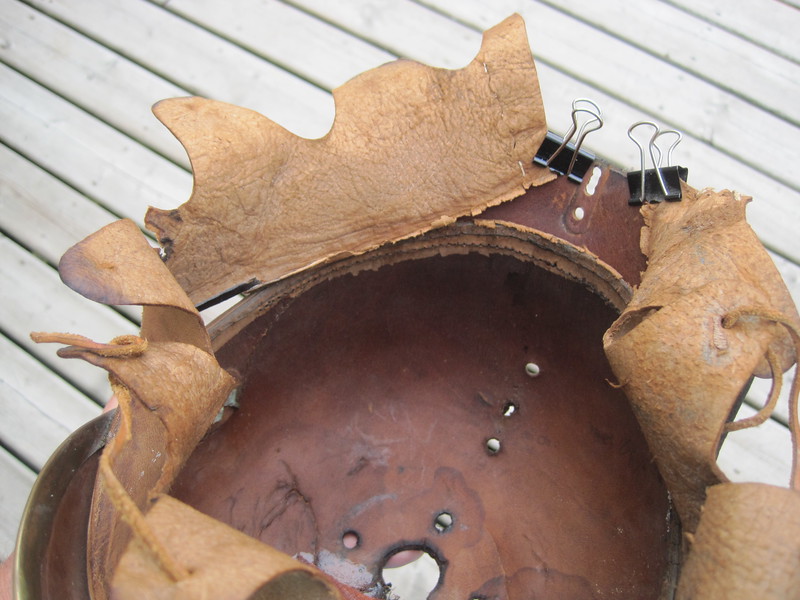
An inside view showing the M15 liner and splits in the shell top. The liner looks in good shape BUT there are some hidden problems.
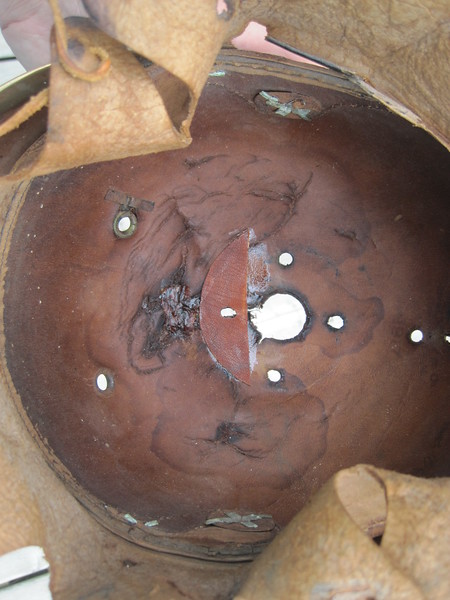
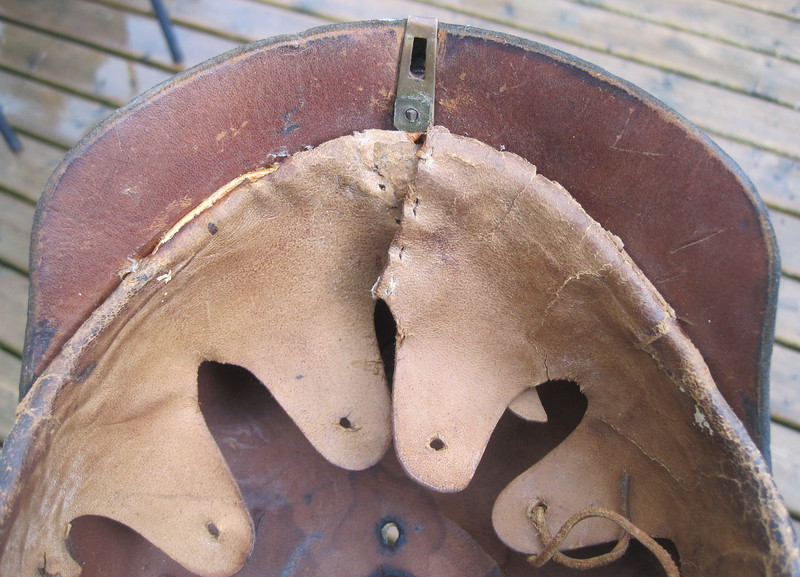
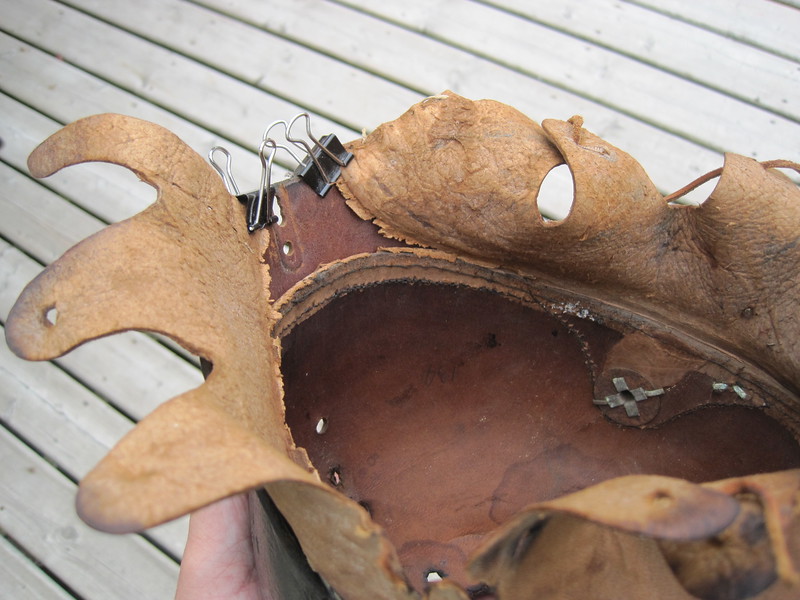
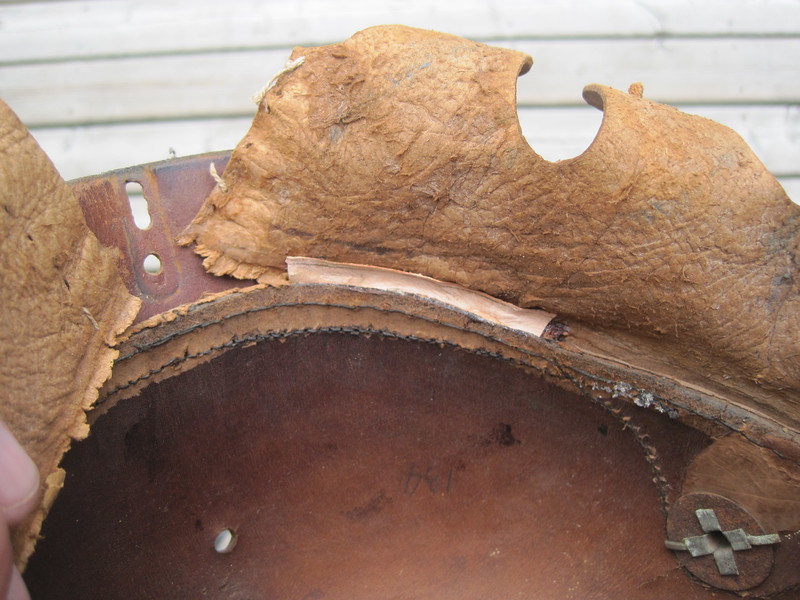
This picture shows the patch that was glued into the shell, this will be hidden by the spike base disc. You can also see that part of the liner edge has split off the shell rim. We also see the prongs of the black flat head Brad. To be continued....
The wappen was not sent with the piece but the spike assembly was. We can see the 2 contrasting grommets here plus the flat brad and a collapsed/pushed in shell top. The missing areas in the shell are going to be replaced with new leather glued into place
The rear visor needs restitching but the brass spine also needs a bit of re soldering as the split prong brad has detached but it is still there (yaa!). The right corner of the visor was glued to the shell by some previous owner...ugh!!
The collapsed top has to be dealt with first...the area was wet then placed on a head form with some "elastic pressure" A plastic bag is put on the form so the styrofoam does not stick to the leather. The depressed/cracked area in the foreground was also wet later and pushed back into place.
An inside view showing the M15 liner and splits in the shell top. The liner looks in good shape BUT there are some hidden problems.
This picture shows the patch that was glued into the shell, this will be hidden by the spike base disc. You can also see that part of the liner edge has split off the shell rim. We also see the prongs of the black flat head Brad. To be continued....

")