Bavarian M96 Restitch

b.loree

Administrator
Staff member
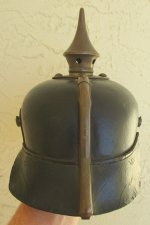
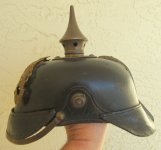
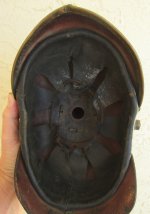
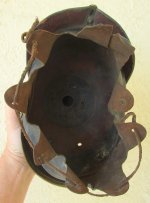
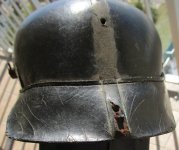
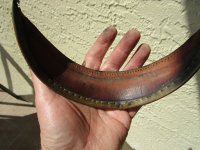
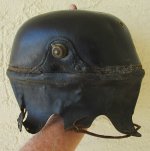
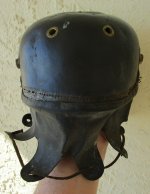
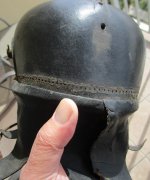
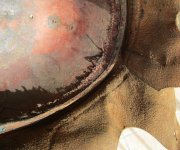
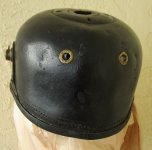
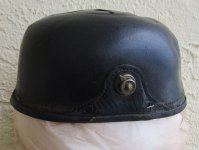
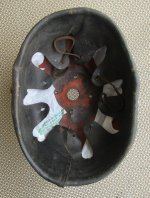
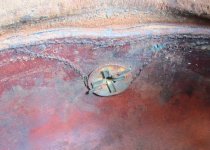
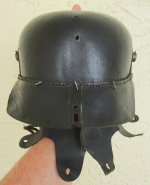
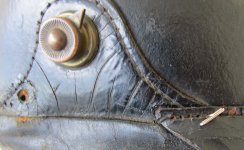
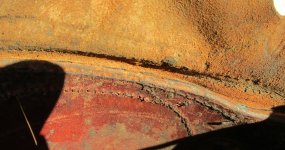
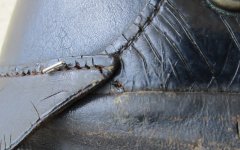
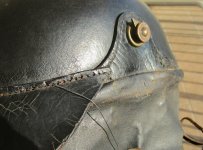
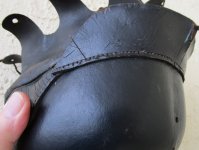
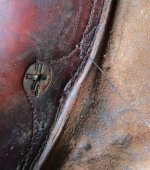
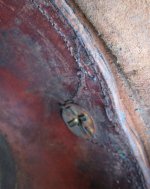
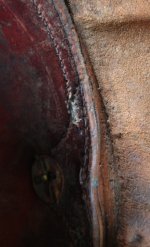
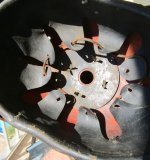
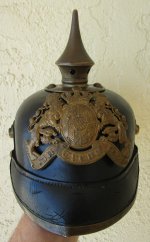
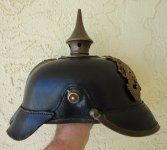
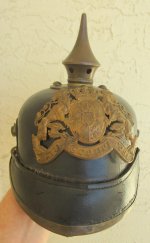
I received this Bavarian M96 a week ago, time to get it done! The helmet is very dirty inside and both visors have come loose. As is typical, the shell has shrunk inward popping the cotton thread along the stitch line. The collapsing shell as we shall see, has also split the brass visor trim on the inside edge. Again, this is a very common problem with pickelhauben and we have seen many with the trim split into 2 halves or even with trim completely gone. This happens to both M95's and M15's. The "before" pictures:
IMG_0888.JPG
Bavaria did not adopt this style of pickelhaube until 1896. My thanks to Kaiser's Bunker for this information. :thumb up:
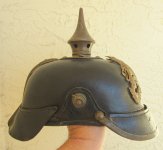
IMG_0889.JPG
IMG_0890.JPG
IMG_0891.JPG
IMG_0892.JPG
The helmet has an excellent heavy pre war liner along with its original drawstring. Leather thickness is measured in ounces...the typical haube liner is made from 2 oz. sheep skin.
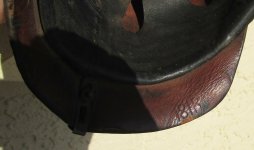
IMG_0893.JPG
The helmet is stamped 181R...the 18th Infantry Regiment. In my experience, the Bavarians favoured stamping their Rgt. numbers rather than "ink stamps" used by the Prussians and other states. The 18th Infanterie Regt Prinz Ludwig Ferdinand (Landau) II Bayer Armee Korps (KB). The Regt was formed in 1881 and based at Landau. There is no date that I can see in the shell but there is an ink makers stamp which may become visible when the shell is cleaned inside.
 
The helmet has to be taken apart for the restitch:
IMG_0900.JPG
The first thing...that 100 year old drawstring knot has to be untied.
IMG_0902.JPG
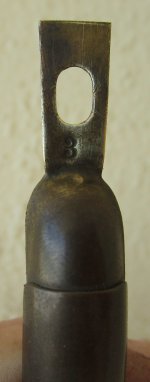
The spine is a size #3 very seldom are these spines stamped.
IMG_0906.JPG
Since there were no "spine lines" on the shell, I used a black marker to aid in lining up the stitch holes.
IMG_0909.JPG
The trim is unusual in that it has been punched on the inside edge to lock it onto the visor. I have seen this before but never so many. This was done by hand as they are not equidistant from each other.
IMG_0910.JPGIMG_0911.JPG
Next all holes in shell and visors have to be cleaned out and rotten thread removed. However, before that a wet paper towel to clean out the dirt and grime in the shell :). My hands are getting filthy handling this thing!
 
Thanks for posting, always look forward to these project reports. Thanks for the spine size, what size is the helmet?
 
Helmet is presently being blocked back into shape on a head form . I did use a wet paper towel to wipe out the inside of the shell. Perhaps a size stamp will surface once the helmet dries.
 
Twenty Four hours later, I can see no size number in the helmet and the maker stamp is smudged and ilegible. However, I would estimate the helmet to be a size 54 cm. The process continues:
IMG_0912.JPG
A photo showing the difference between holes which have been cleaned out and those which are still filled with old thread.
IMG_0913.JPG
Drilling out the holes still leaves old thread remnants inside the shell which must be removed with tweezers. You can also see how dirty the interior is.
IMG_0915.JPG
The inside rim of the shell was softened with wet strips of paper towel. This was done first on the back half then the front. The towel was held in place using "T" pins forced into some of the stitch holes. This placement allows the water to seep into the leather and soften it. The strips were left in place for 30 min.
IMG_0916.JPG
Next the shell is blocked onto a head form covered in a plastic bag. This prevents the shell from sticking to the styrofoam and possibly tearing the liner.
IMG_0917.JPG
The shell was pinned to the headform and left for 24 hours. Obviously, it does not take much effort to wet and block a helmet shell. To my mind, this should always be done when you see that the shell has caved inward after 100 years of abuse. You can also see in this photo that a strip of plastic bag was placed between the wet shell rim and the liner to protect it. We can also see that today, the shell is back into proper shape.
IMG_0918.JPG
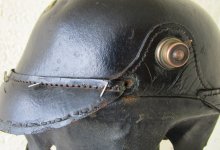
This Bavarian M96 has the typical side post attachment.
IMG_0919.JPG
At present the rear visor is pinned on correctly and ready for stitching. To be continued... :thumb up:
 
Looks so easy when you do it :)
Well done and thank you for the detailed explanation. It’s always a pleasure to read :bravo:
 
The M96 restitch is now finished. I am going to be fairly detailed in my description, because I have deliberately used the forum site to host my pictures so this will always be on our site.
IMG_0920.JPG
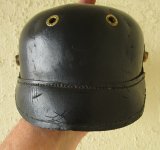
There are usually lines melted into the finish which can be used to check and make sure your stitch holes are in line. The corners of the rear visor usually make an imprint in the shellac as shown here.
IMG_0923.JPG
We start off by waxing our thread with beeswax. Then we tie two granny knots on top of each other to make a small "ball" so the thread will not pull through the first stitch hole. You can see my little "knot ball in this pic.
There are always 2 loops of thread at each visor corner, start on the inside of the shell and go up through the first of these holes....the one closest to the liner. You pass your needle twice through the first and second holes thus creating the proper thread loop.
IMG_0921.JPG
The first two loopholes.
Next go along the stitch line filling in every other hole with thread. Wax your thread every so often as you stitch and move your needle several times as stitching can fray and break your thread.
IMG_0922.JPG
I am just getting started here, you can see my thread loop is done and I am 3-4 stitches along the line going every other hole. I call this the "first pass" along the stitch line. On the way back, the "second pass" will fill in the remaining empty holes.
IMG_0925.JPG
Almost done the second pass, you can also see the damage done to the shellac stitch line from cleaning out the old thread. Black shoe polish will be applied to fill this in.
How I Finish Up: Obviously, the thread has to be tied off and cut once you are finished. What do you tie off to? I slip the needle underneath the nearest stitch, pull the thread through creating a loop then pull the needle through the loop...pull tight which forms a knot around the stitch. I put two knots around the stitch before I cut the thread. Finally I make sure there is a bit of a whisker of thread beyond the knot and I lock this down to the shell using beeswax. Some pics:
IMG_0927.JPG
Two knots around the stitch.
IMG_0928.JPG
Thread is cut leaving a short length.
IMG_0929.JPG
Sealed with beeswax to lock the thread in.
 
The front visor:
IMG_0936.JPG
Front visor lined up and pinned.
IMG_0934.JPG
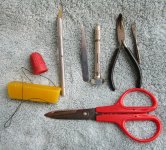
Tools used in removing fittings and restitching. The straight blade screwdriver bit, is used to pry up brass prongs.
IMG_0940.JPG
Done.
 
I put humpty Dumpty back together this morning:
IMG_0947.JPG
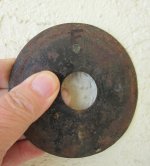
When I remove fittings, I always mark the front of the support disc so I can get back into proper position. Many times after 100 years the disc has bent to fit changes in the shell.
IMG_0948.JPG
Another practice is to do a partial bend of the spike brads while getting them into place. After I have them all in place, I bend them down into position.
IMG_0949.JPG
IMG_0950.JPG
Complete!
 
Back
Top