Naprawiacz
Well-known member
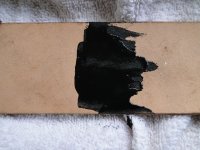
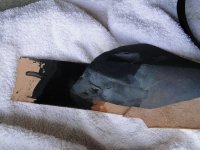
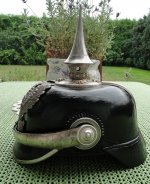
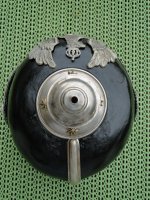
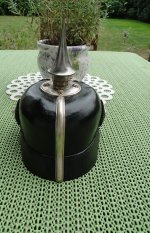
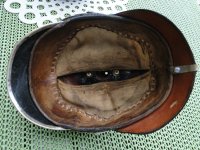
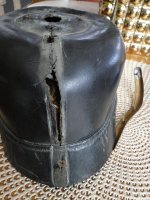
I had a problem with it,to straighten it,but something managed to do.In the last photo the state before repair.
The grit of the paper is good do not change.The whole art is to work with the water of the sandpaper.Take a water sprayer and spray the area to be sanded and sand.It will make a smear, which fills the cavities. All the time the paper must be wet.After a short drying time, apply another layer and repeat the steps.The average time to work on a damaged object is about 30 hours.Later I will send pictures of how it is done.A very nice restoration job Wojtek.
I also used ground leather (I used a wood rasp to file off small leather fragments) which I mixed with glue that dries to a transparent finish as a hole filler. It worked well.
Can I ask what you mean by "water paper" ? I've been using 600 grit sandpaper which works but does not do a quick job. I think I need to use a coarser grit for the process of building up the layers while filling areas that have lost their lacquer.
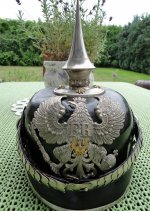
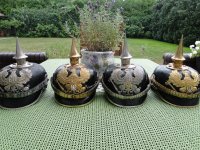
Those four helmets look great together.
Great info .
Parden my ignorance .
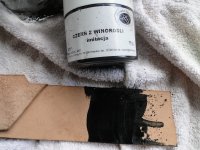
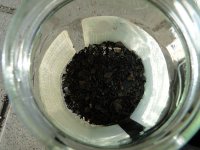
What is black from the vine ?
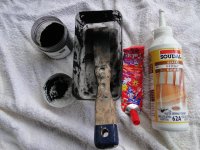
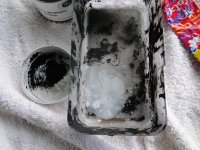
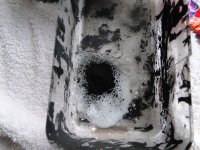
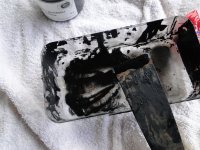
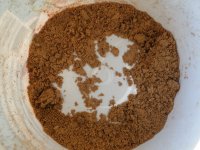
To the wood glue we add some paper glue and add a little water.The first layer should be thinner so we give a little more water.I mix the whole thing with black from the vine.This is a version for pickelhaube with all the polish removed.If we want to patch only the areas of damage then we add ground leather to the smear. After the first layer dries, the whole repair is soaked in water from a spray bottle and sanded with sandpaper.The sandpaper must be wet all the time.Then we apply another layer and another layer and sand all the time.When we get the right effect,after drying the whole thing is painted with pickelhaube shellac diluted in 90% spirit.We apply several coats of shellac.The whole repair takes about thirty hoursThis is a modification of a recipe from 1845.
Steve for your method will also work white pumice dust.It is applied to the object and sanded,but without water.https://szal-art.pl/Pyt-pumeksowy-100-g_42_98/Wojtek:
Thanks very much for taking the time to explain your process in such detail. I'll keep using the 600 grit sandpaper and will try using water as you suggested on my next lacquer application.
I've been applying the 1876 Lacquer recipe that Sandmann and Brian provided details on. Just as a note: I added .625 ml of Japan Drier to the recipe and the results have been excellent in my view. The lacquer is dry to the touch within an hour and can be sanded within 24 hours. I keep the mixture in a well sealed glass jar and there has been no thickening upon exposure to the air so far.
I'm finding this restoration process interesting and satisfying so far. Thanks to all who have so freely offered to share their experience.
Steve
")