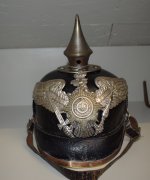
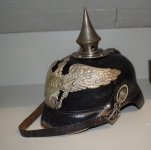
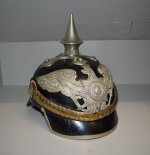
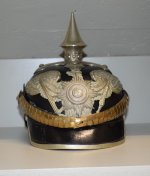
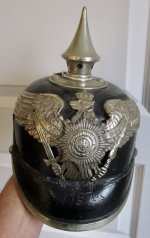
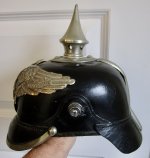
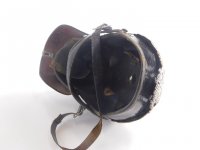
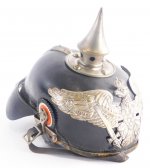
A couple of helmets sent for restoration from the UK. These belong to Michael one of our members. So, the little GFR helmet needs both visors restitched and the Dragoner has a loose front visor and needs to have a new piece of original neusilber trim installed. All fittings that could be easily removed were kept by Michael as I don't need them. Lets take a look:
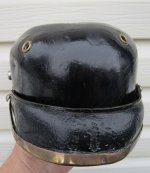
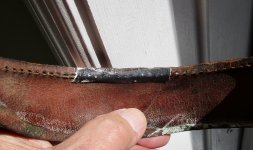
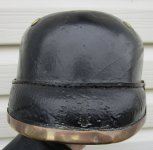
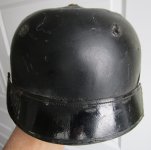
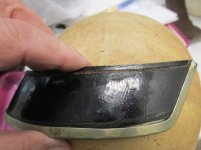
The GFR, has shrunk quite a bit over the years and unfortunately, much of the nickel finish on the trim has been polished off. Note how the trim has separated from the visor and the bulge in the leather.
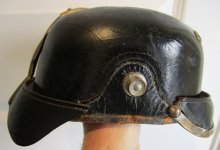
I was eyeing these M91 posts to complete my GFR but fortunately Amy came through with a pair to complete my helmet which has sat for decades without M91's. Thanks Amy!
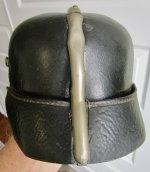
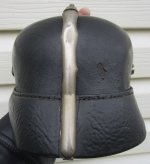
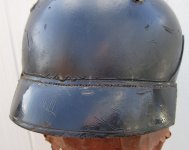
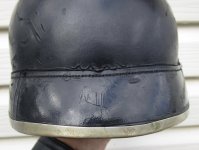
That dimple and flat section on the spine is typically found on helmets which have shrunk over 100 years.
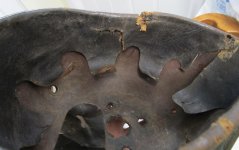
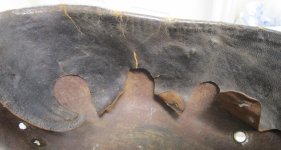
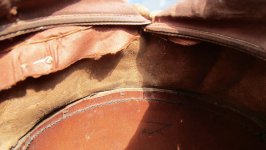
The liner was very delicate with tears in it. I knew that I had to stabilize these or they would rip further with me handling the helmet. The liner has to be pulled up out of the shell, in order to access the stitch line and then my hands are going in and out of there probably 50+ times per visor as I stitch. Thin pieces of officer sweatband were glued over the tears to secure them.
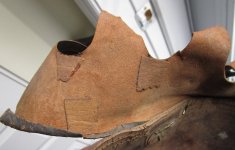
The edge of the liner had to be glued on as well . I tried to stitch it but this just caused more tears. Sometimes, there is only so much that can be done.

The GFR, has shrunk quite a bit over the years and unfortunately, much of the nickel finish on the trim has been polished off. Note how the trim has separated from the visor and the bulge in the leather.

I was eyeing these M91 posts to complete my GFR

That dimple and flat section on the spine is typically found on helmets which have shrunk over 100 years.


The liner was very delicate with tears in it. I knew that I had to stabilize these or they would rip further with me handling the helmet. The liner has to be pulled up out of the shell, in order to access the stitch line and then my hands are going in and out of there probably 50+ times per visor as I stitch. Thin pieces of officer sweatband were glued over the tears to secure them.

The edge of the liner had to be glued on as well

