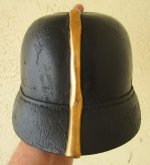
Model 1871 Prussian Garde

b.loree

Administrator
Staff member
James seems determined that I spend my vacation working on his helmets, so here we have yet another sent to me for work. :eek:
Before we get into the "before pics" here is a photo which I would title: "Too Much Haube On My Hands".
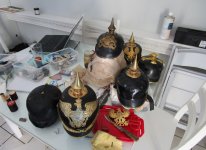
IMG_0952.JPG
This is the present state of our dining table. :-? Thank goodness I have a very understanding wife, only one of these hats under construction is mine!
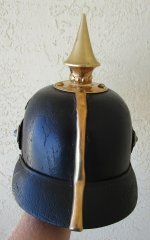
The Garde M 71:
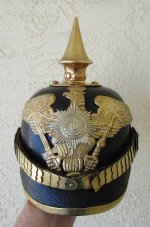
IMG_0941.JPG
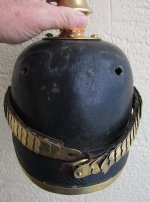
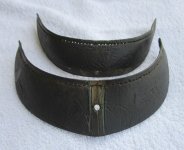
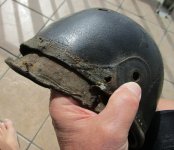
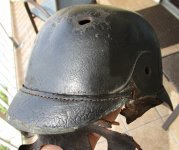
This old boy weighs 1.8 lbs! Both visors need restitched. All fittings are going to have to come off so we are going to get a very close look at how this model was put together.
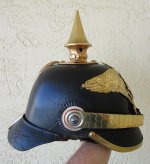
IMG_0942.JPG
The reich kokarde is original but really should not be present...maybe the piece was reissued??
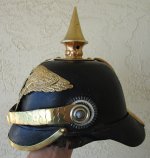
IMG_0943.JPG
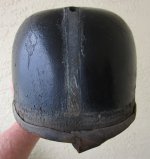
Look at the high dome of that shell.
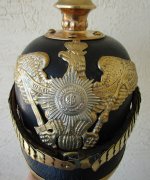
IMG_0944.JPG
IMG_0945.JPG
IMG_0946.JPG
Two of these split brads are repros and all 4 don't fit with the M71 in my opinion. To me they should be replaced by a set of original screw post/nut retainers. In my head, I have named this piece "The Beast" due to his weight. :wink: I will take him apart tomorrow.
 
Who needs vacation :D
Do you think all 4 slit brads have been assembled in younger times? Seems only 2 have been added and the Helmet used to have split brads when it was in use.
 
I do not know that Sandy, What I do know is that the wappen is screw post as is the rear spine. In my experience, older helmets like this have screw posts and square nuts.
PS Sandy: Having now taken the helmet apart, I now know that 2 of the brads were modern repros but the other 2 have modern prongs soldered to perhaps original heads?? :? Either way, I think that we all know, that these spike base domes should be original screw posts and square nuts on an M 71.
 
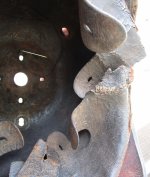
The story continues on this M71 which has now been taken completely apart. I am posting a lot of photos here, as how many of our members have seen one broken up into "parts" ? You may have one in your collection but hopefully, you never have to restore it. Here we go:
IMG_0953.JPG
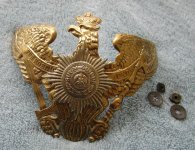
So, our first 3 pics start with the wappen as usually, that's what you take off first. Obviously, we have an older style Garde OR's wappen. The star is quite large and flat.
IMG_0954.JPG
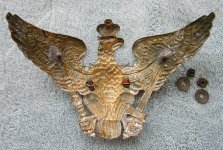
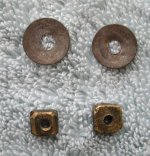
The reverse side where we can see screw posts and soldered loops with leather wedges for the stern.
IMG_0955.JPG
The brass square nuts seem to be cast, as they are thick and "chunky".
IMG_0956.JPG
Wappen removed, no brass grommets, the holes are simply punched as we would see on a private purchase helme.
IMG_0957.JPG
The scales are thick and heavy which is typical of these older helmets. You can see the flat end of the scale bolt.
IMG_0958.JPG
Flat brass infantry scale, large domed slotted bolt. This helmet has 2 kokarden, Reichs and Prussian which is not correct for the age of the helmet.
IMG_0959.JPG
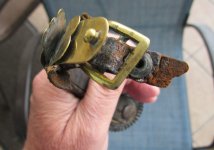
A large brass buckle on the scale and surprisingly, a riveted strap. I have always wondered why all simple leather haube M91 chin straps were not riveted instead of hand stitched???? :-?
IMG_0961.JPG
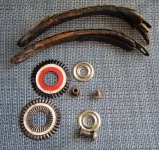
So, we find that the kokarden are incorrect...original M91's but we should only have one small hole pre 1891 Prussian kokarde on this helmet. Also note, the neusilber washers for the scale bolts plus the boilts themselves. If this were a neusilber Haube these fittings would be brass.
 
We continue our in depth look at this old 1871 survivor:
IMG_0967.JPG
Our next move usually is to take off the rear spine. In this case naturally the spine is long, with no slider vent. In addition, there is no M95 style tang which extends under the spike base , secured by a split brad. This is an OR's version of the officer spine....no tang :) . Two soldered screw posts though and a very old style curved wappen nut securing the bottom tang to the visor.
IMG_0966.JPG
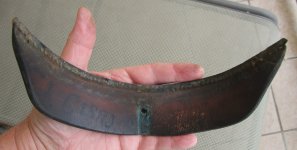
Next, we cut off the visors using an exacto knife. I also have a clear imprint up the shell from the rear visor spine, this is where I will start when it comes time for me to pin the visor into place for the restitch. :) a good thing
IMG_0965.JPG
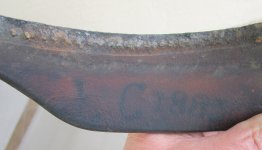
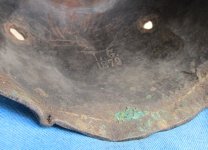
Faint inked markings but from what I can see..1C 1883
IMG_0964.JPG
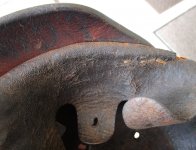
As an M71 we naturally have thick heavy leather used .
IMG_0968.JPG
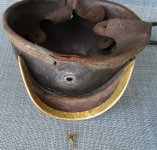
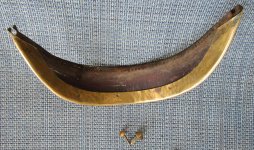
So I cut off the front visor, and we can see the width of the trim on the inside edge. :eek:
IMG_0969.JPG
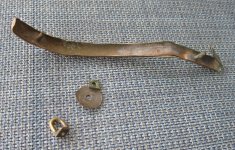
And we see another problem....one trim brad is original but the other is a spike base brad with wide prongs. Note as well, the original has 1" slim prongs to get through that thick shell. Unfortunately, one prong on the original has broken in half! :( To be expected when we are dealing with such an old helme. More...
 
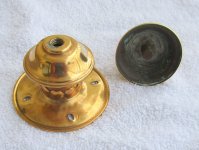
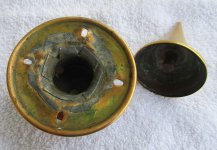
We dive further into this M71 helmet which reveals more information. No surprise, when dealing with something which has survived for so long. Next the spike is removed:
IMG_0975.JPG
Naturally on a Garde style helme the spike top should unscrew for the trichter
IMG_0976.JPG
IMG_0982.JPG
Visors cut off and stitch holes cleaned
IMG_0983.JPG
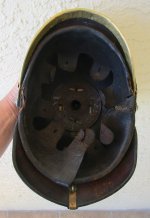
Unfortunately, much of the liner stitching has rotted out as well.
IMG_0993.JPG
A surprise, the helmet is marked LG 1879 which stands for Landes Gendarmerie and date. I once owned one of these LG helmets and they always seem to be imprinted up in the front of the shell.
 
Ok James, your "Baby" has survived the operation and here are the results:
IMG_1004.JPG
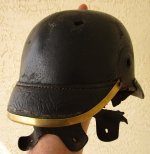
Rear visor back on.
IMG_1005.JPG
The liner has been repaired in two spots, not surprising due to the age of this piece.
IMG_1006.JPG
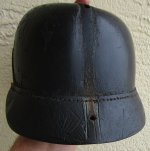
A section of the rear visor near the tip had also been restitched. There was also two stitch lines in the rear of the helmet which confirms additional repairs.
IMG_1008.JPG
Front visor is now back in place. You can also see that the liner has tron further during this process. I warned James about this happening, as liners in any helmet take a beating during a restitch no matter how careful one is. :(
IMG_1010.JPG
Testing out the fit of the front trim. I will not be completing this "assembly" until I meet up with James at the SOS. One of the trim brads is in fact a spike base brad so no sense putting that back on. Age of Kings is bringing a proper original to the Show so I can put that back on. The holes for the trim brads are also quite large, so I have asked James to bring 2 tin washers to back up the trim brads.
IMG_1009.JPG
I have secured the rear spine back on the helmet.
 
Back
Top