Sandmann
Well-known member
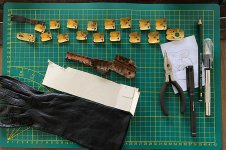
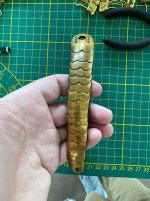
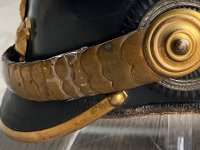
This is my 1st restoration project and I oriented to Brian's very good and informative post "Anatomy of a Chin Scale #2".
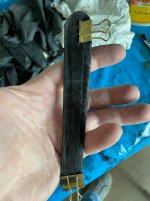
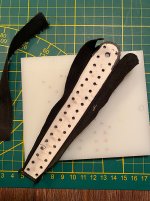
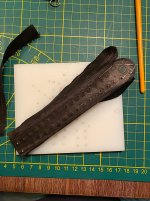
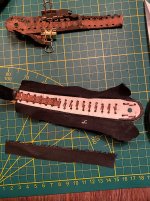
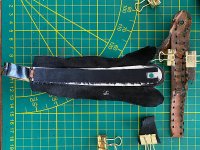
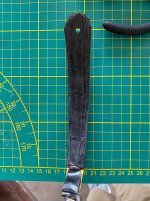
The repair was necessary because a Chin Scale of one of my Helmets was torn into 2 pieces and the previous owner „repaired“ it with Duct-Tape. Unfortunately Duct-Tape is very bad for nearly all materials and damages it in the long run. So I had to repair the Chin Scale in a better way.
It was a good opportunity for me to test my skills on a relatively small project...
About the Adhesive:
Before I started with the repair, I tried to find informations about leather adhesives using around 1900, because I wanted to work as authentically as possible and use an adhesive of the time. I spent several hours online and researched in countless books of the 19th century in Google Books and tested different adhesives with my leather.
Ultimately, I chosed Fish-glue.
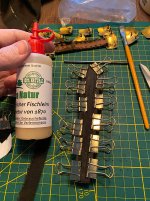
Fish-glue is an animal glutin glue which was probably not used for the Chin Scales, but which seemed very suitable for me.
As a natural glutin adhesive, Fish-glue has the great advantage that a gluing can be opened again by heating it with a hot air dryer and then simply can be glued again with the same adhesive. I also found an entry in a Manual for Prussian artillery officers that said Bone-glue would give a good adhesive for leather.
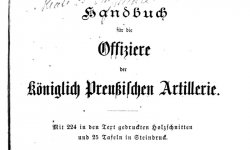
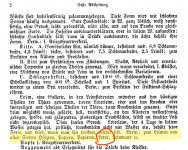
Bone-glue is also a glutin-adhesive but it can only be used only warmed up. Fish-glue has a slightly lower adhesive strength but it can be used like normal liquid adhesives. Further the adhesive strength is still so good that the leather of my sample has been torned when I tried to tear it open. Because the adhesive is also elastic and resistant to aging it was the perfect choice for me.
About the leather:
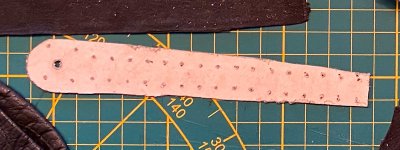
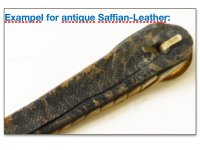
Around 1900 Morocco-Leather (Saffian-Leather) was often used for some uniform-parts, fine leather Gloves or Bookbindings. It is a particularly soft goat or sheep leather and can be easily recognized by the special grain looking (a bit like cross hatching, see example picture). This grain is created by a special treatment, the crunching, which unfortunately is hardly used today.
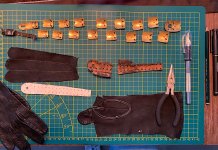
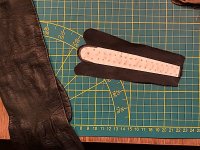
So I remembered Brian's tipp and bought old women's gloves. Fortunately I found matching black gloves. But long white women's gloves from the 20s also often have a good leather and can be dyed relatively easily.
The repair was necessary because a Chin Scale of one of my Helmets was torn into 2 pieces and the previous owner „repaired“ it with Duct-Tape. Unfortunately Duct-Tape is very bad for nearly all materials and damages it in the long run. So I had to repair the Chin Scale in a better way.
It was a good opportunity for me to test my skills on a relatively small project...

About the Adhesive:
Before I started with the repair, I tried to find informations about leather adhesives using around 1900, because I wanted to work as authentically as possible and use an adhesive of the time. I spent several hours online and researched in countless books of the 19th century in Google Books and tested different adhesives with my leather.
Ultimately, I chosed Fish-glue.
Fish-glue is an animal glutin glue which was probably not used for the Chin Scales, but which seemed very suitable for me.
As a natural glutin adhesive, Fish-glue has the great advantage that a gluing can be opened again by heating it with a hot air dryer and then simply can be glued again with the same adhesive. I also found an entry in a Manual for Prussian artillery officers that said Bone-glue would give a good adhesive for leather.


Bone-glue is also a glutin-adhesive but it can only be used only warmed up. Fish-glue has a slightly lower adhesive strength but it can be used like normal liquid adhesives. Further the adhesive strength is still so good that the leather of my sample has been torned when I tried to tear it open. Because the adhesive is also elastic and resistant to aging it was the perfect choice for me.
About the leather:
Around 1900 Morocco-Leather (Saffian-Leather) was often used for some uniform-parts, fine leather Gloves or Bookbindings. It is a particularly soft goat or sheep leather and can be easily recognized by the special grain looking (a bit like cross hatching, see example picture). This grain is created by a special treatment, the crunching, which unfortunately is hardly used today.
So I remembered Brian's tipp and bought old women's gloves. Fortunately I found matching black gloves. But long white women's gloves from the 20s also often have a good leather and can be dyed relatively easily.


