It has been a while since my last restoration post. I have been working on other helmets but I got it into my head that members would get bored with the same type of posts. However, I know you guys like to follow along with these projects, so why not take a look at this M15? I had the customer remove the wappen and spike top as I do not need them, a smaller box saves on a bit of postage. This helmet needs both visors restitched, shell, front visor and trim also need to be put back into their original shape...as close as we can get. I am going to try and use the site to post these pics but I really prefer SmugMug. Here are the "before" photos:
I am going to limit the number of pictures per post in order to avoid problems with the site. Obviously I have already screwed up! My big worry about posting with SmugMug is...what happens in the future? I am sure that my son Logan will continue the forum but what happens if Smug creates a problem like PBucket did?? :ANGRY:
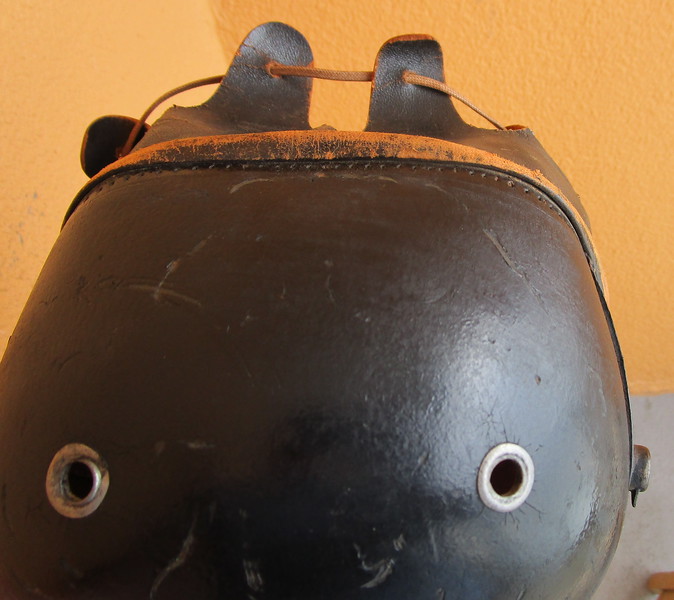
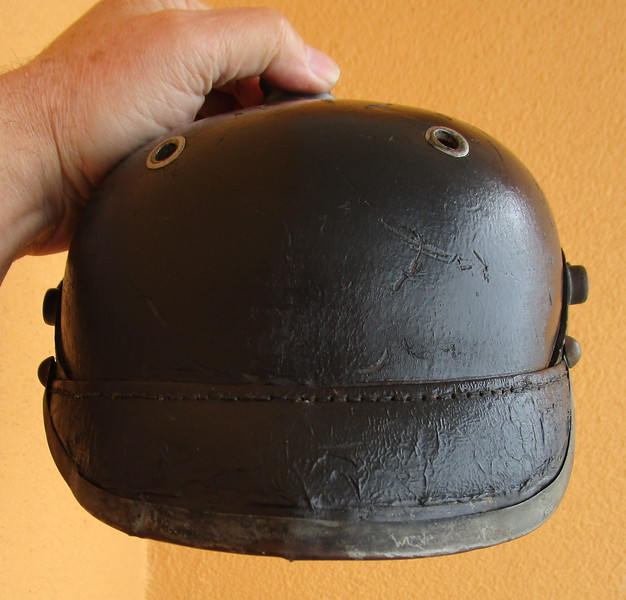
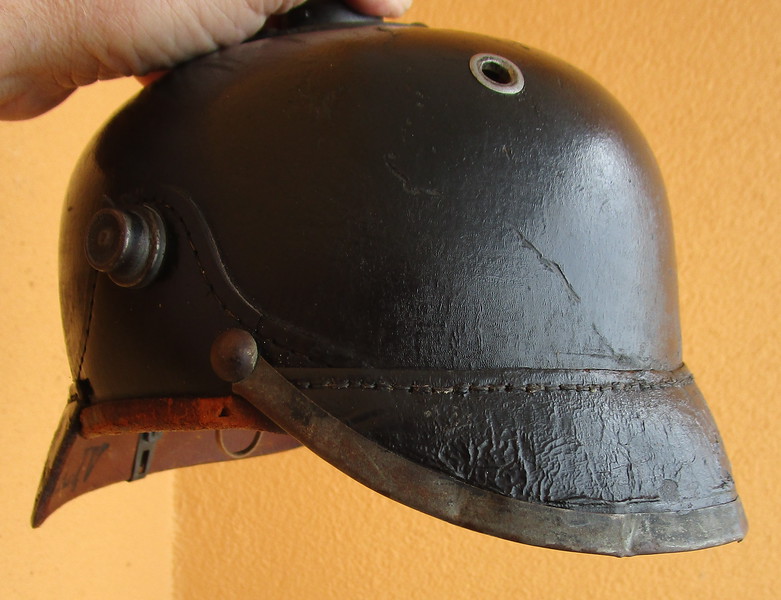
Some additional Before pictures:
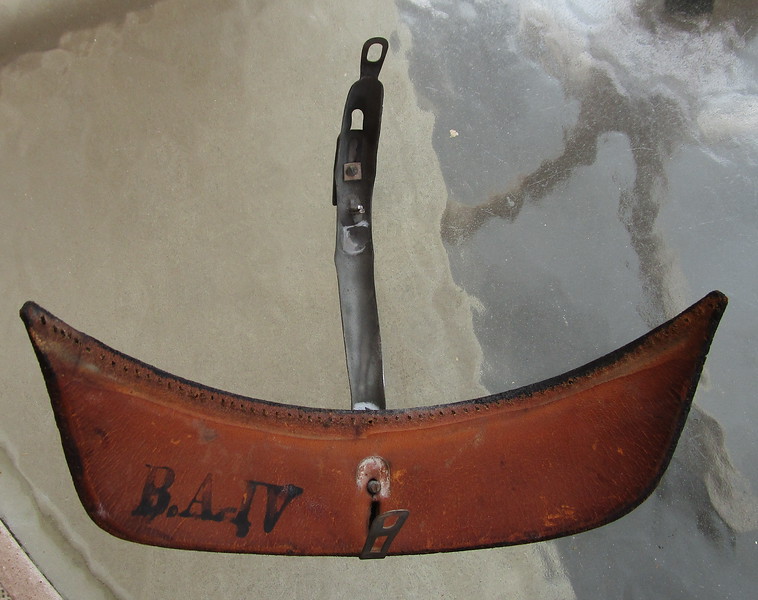
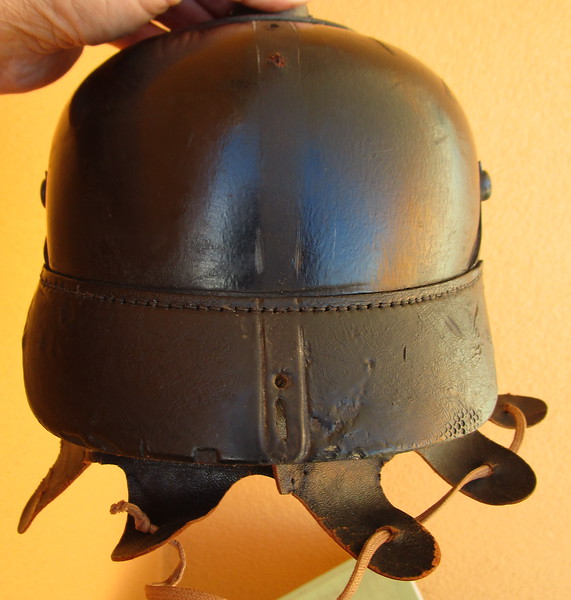
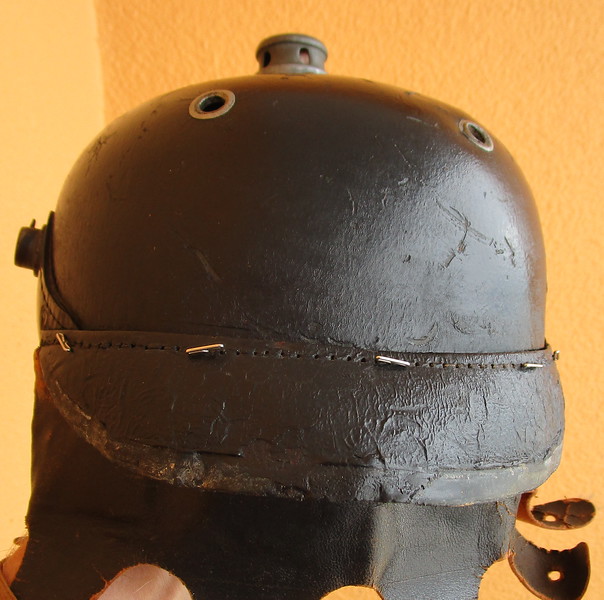
The helmet has an excellent Korps marking...BA IV and great M95 style liner. I do not believe the piece was ever issued, probably a War Bond Helmet. I am the first person to remove the fittings etc. You can also see how the front of the shell has flattened out, torn the stitching threads, warped the visor and dented the trim. The trim has a crack on the inner side which is typical and shows how much stress the shrinkage can cause. View attachment 1
OK, I have tried....this site picture posting is just a ROYAL PAIN IN THE ASS!! :ANGRY: Back to SmugMug.
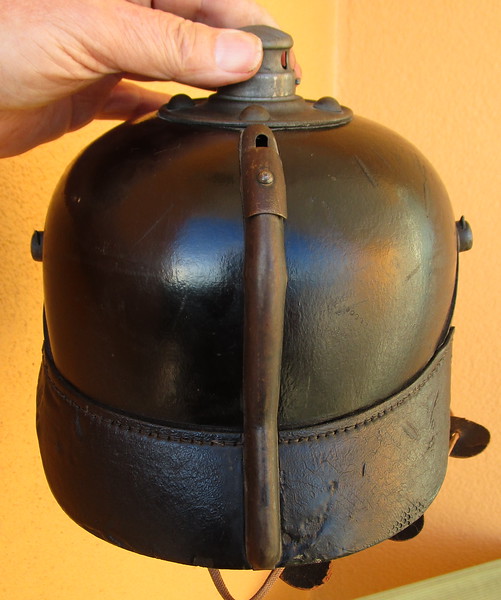
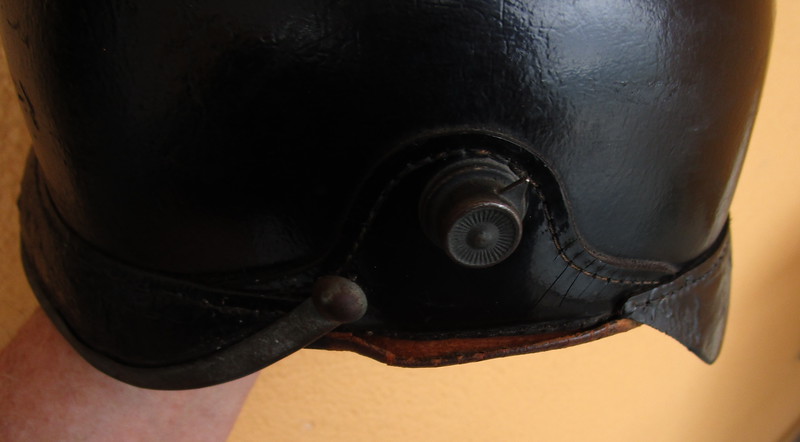
A couple of spiders nests on this one....spidey loves the rear spine for nest building . This fitting has never been off since manufacture.
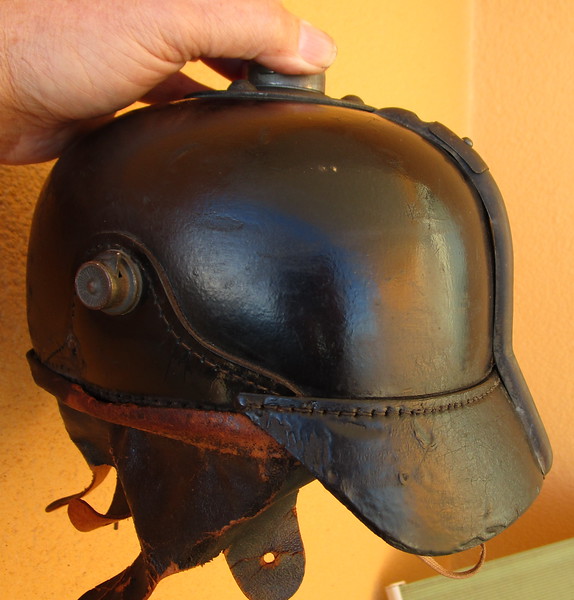
Front visor removed and we can see how the shell has flattened in the front tearing out the stitch threads. This has to be fixed. It makes no sense to just leave it and restitch the visor back on.
The front area of the shell is softened by applying wet paper towels. These were left on for 45 minutes.....NO LONGER!
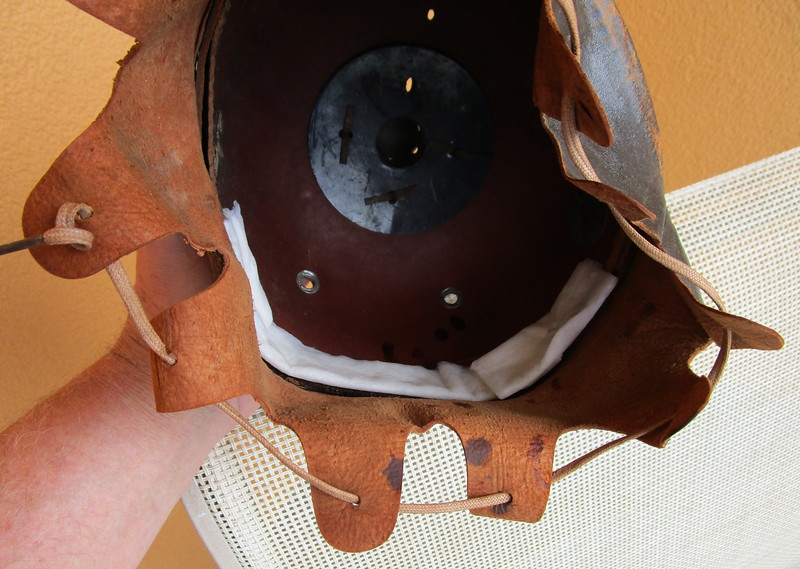
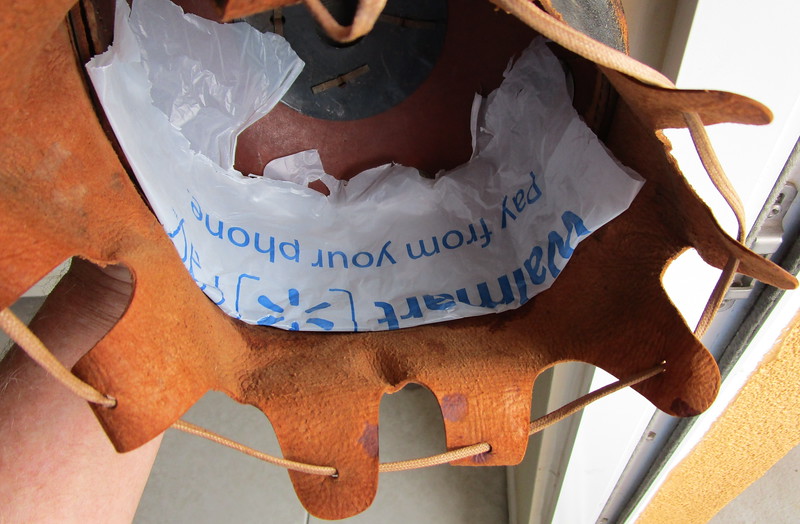
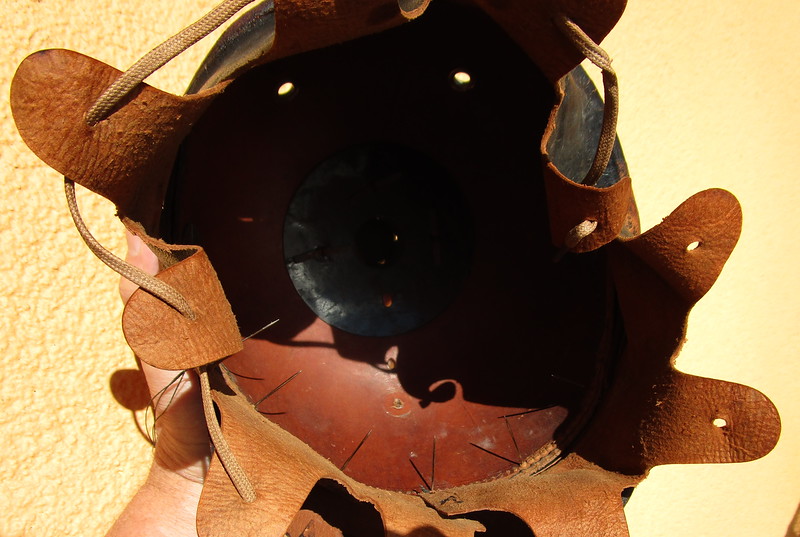
Paper towel has been removed and a piece of plastic bag is put over the wetted area so that when the liner is folded back in it will not stick to the inner shell. Always use plastic as protection when you have wet any part of the pickelhaube leather.
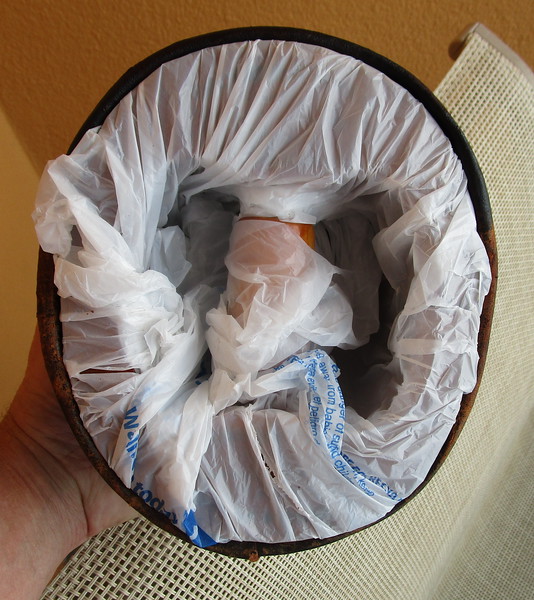
The liner was folded back into place and an antique wooden hat stretcher again, covered in plastic is put in the shell to reshape it.
This will be left in for about 3 days...depends on the humidity of your environment.
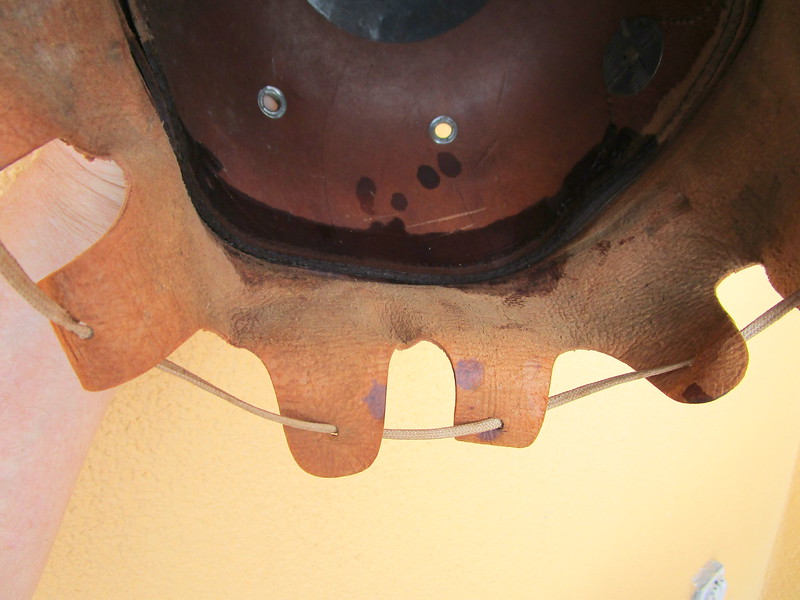
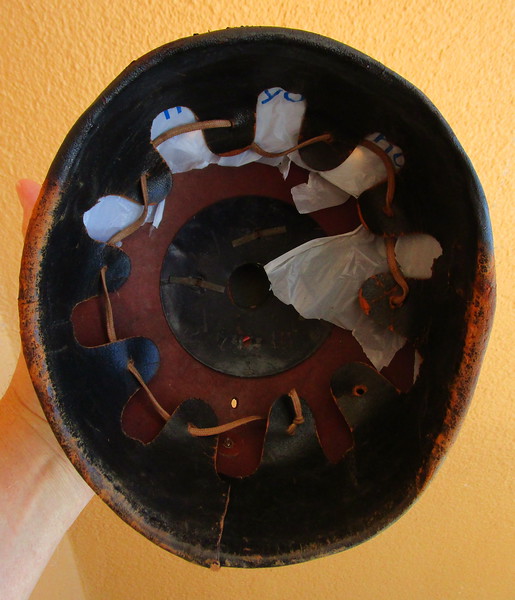
Thanks, I do the best that I can. Cool to have the original drawstring in this liner as well with no tears in the finger holes. For new collectors....most M95's will have a thin leather drawstring woven through the finger holes.
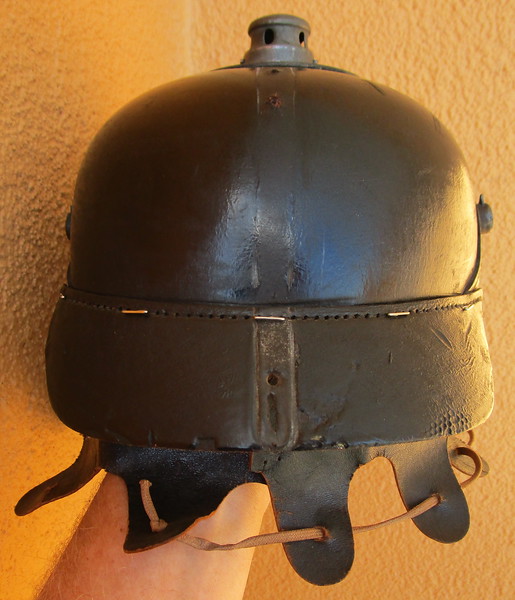
The shell has dried and is back into proper shape:
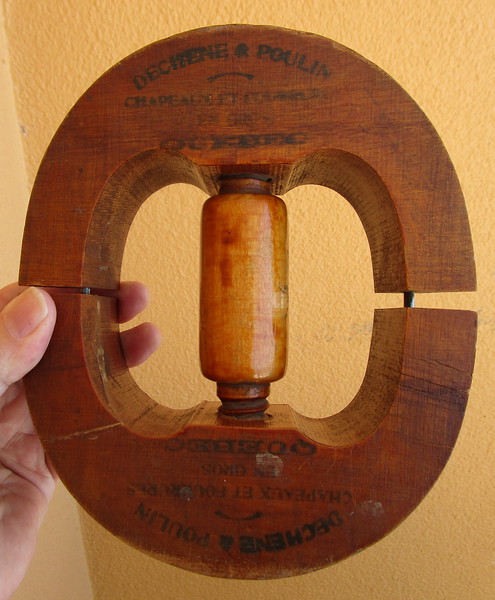
A picture of the antique wooden hat stretcher used in the process. These show up in antique stores but there are modern copies for sale on Ebay. This one was made as an advertising piece for "Deschene & Poulin Chapeaux Et Fourrures En Gros Quebec" who were furriers and also sold hats. Some of these have metal handles and brass measurement indicators so you can fit it to your hat size.
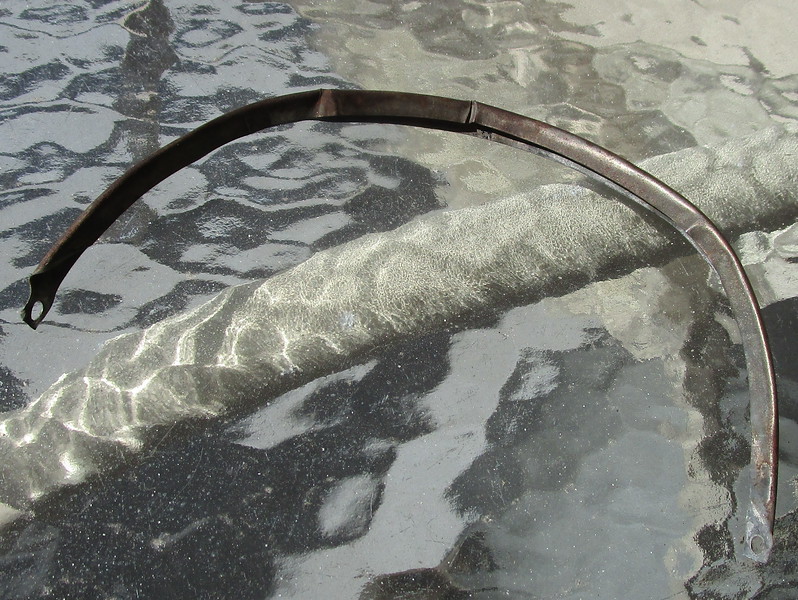
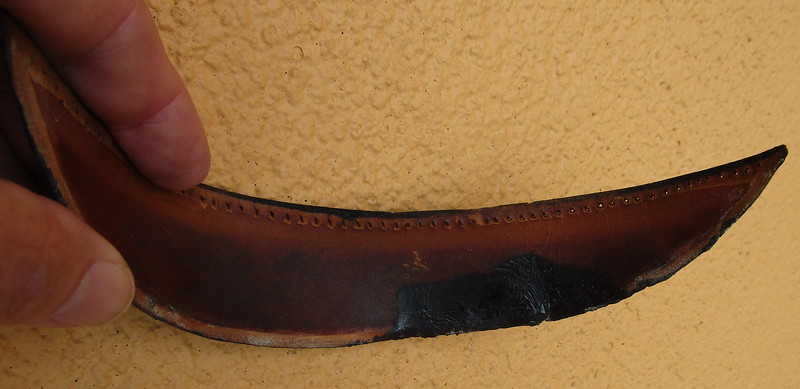
The front visor trim showing split and rippling caused by the stress of helmet shrinkage. This is common for many helmets and in the worst cases the trim actually splits in half. The trim may be straightened using curved nose pliers but I will have to check how it fits on the reshaped visor before doing so.
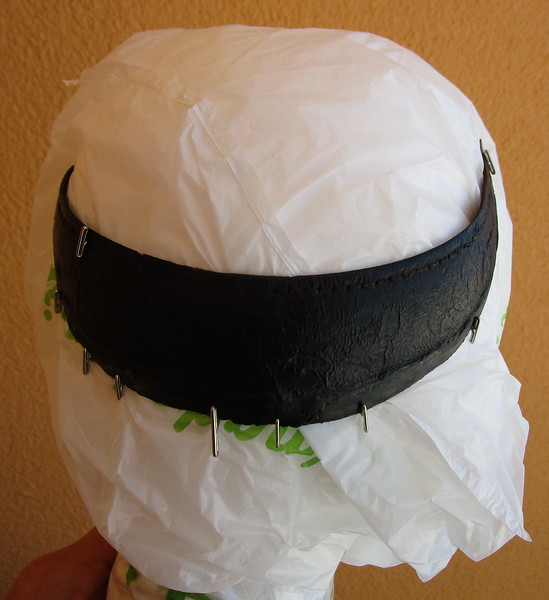
Front visor was wet (only in one area) and then pinned to a headform, again covered with a plastic bag.
Sunny today so why not restitch?
The restorer often must shed blood for his craft .
Rear visor pinned in place for stitching. The spine lines in the finish and visor are lined up and the first pin is put in the middle of them. I then count 12 stitch holes (from pin #1) on the outside and place push in a pin. I then flip the helmet over and count 12 on the inside and make sure that pin #2 is in the correct 12th hole. I work left and right from pin #1 then count another 12 holes from pin #2 and so on.... This is the most reliable way to ensure that the stitch holes line up.
Restitch went well and turned out perfect.
Rear spine installed. Only one spike base brad was removed in order to free up the spine tang from under the base.
The spine fits tight to the shell, a true sign that it is original to the helmet!
Finally finished the front visor stitch today. Here are the results:
I got a surprise when I took the visor off the styrofoam head form. This has never happened before but you can never guarantee anything when dealing with 100 year old leather...I always tell my customers this. The finish bled back on the inside where the visor was wetted. The area I wet on the shell did not do so.....??? The visor looks distorted in the pic, it is not.
Pinned into position.
Stitching complete.
The trim now fits tighter to the visor.
I want to try and fix this. Liners take a beating when a helmet is being worked on. One hundred year old leather has to be pulled out and put back in several times. During the stitch, the thread often tangles in the liner fingers. You can actually cut off a leather finger with the thread if you are not watching constantly. Hundred year old thread which may have looked secure when you started suddenly dissolves into dust when stressed. This applies to officer helmets as well, your hand is constantly going in and out of the shell as you stitch.
Not sure whether I caused this or not, will have to buy a curved needle and hopefully get some new stitches in this area.
I have a Zenith 12-S-568 that has just enough wear on the console that it needs a restoration. Does anyone have a recomendation for someone who does restoration in Missouri or Illinois?


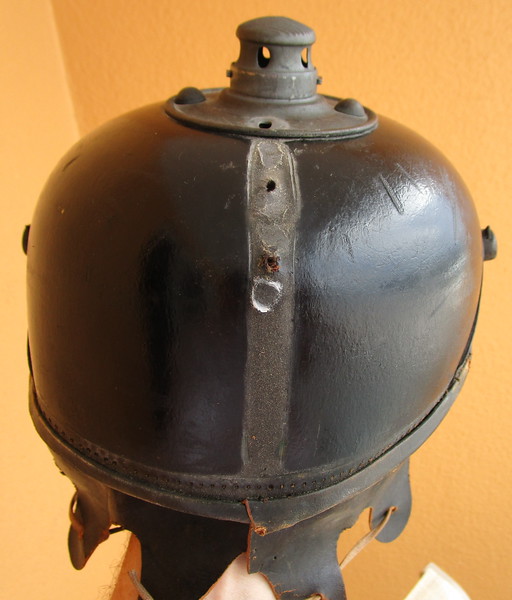
") This fitting has never been off since manufacture.
This fitting has never been off since manufacture.