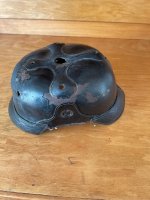
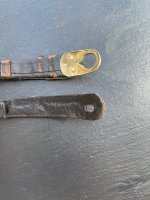
The decision: To restore the hood. The beginning was to remove all metal parts from the body. Always warm the cotter pins well, very important. Very helpful at the beginning was the following article: Restoration Pickelhaube.
The first steps: Then I treat the pickelhaube with saddle soap. This opens the pores of the leather and at the same time has a cleaning effect.
To do this, the sponge, after dipping in lukewarm water, must be squeezed firmly. No more water should come out. If the sponge is too wet, then the leather dries out too much after treatment and it can crack.
I then use the sponge to pick up some saddle soap and squeeze the sponge until the saddle soap comes out foamy. With this foam, I work the leather inside and out in circular motions.
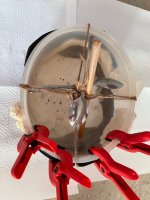
I have built a device from a Tupperware can since here also the sunken part should be lifted a little.
The next day, the leather balm is used. Here I have made with Maroquin leather balm the best experiences, because it is in liquid form and penetrates everywhere. Shake the container well beforehand.
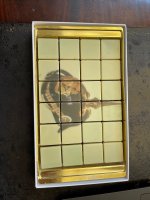
To do this, I place the pickle hood in a bowl with the underside facing up. Between the hood and the bowl I place a kitchen towel or similar. This soaks up the excess leather balm.
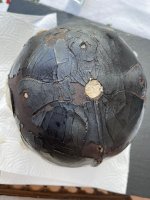
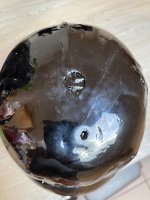
Now I coat the inside of the hood with the leather balm using a brush. Pickelhauben are sewn in several parts and these seams become very brittle over the years. Therefore, all the gaps should be soaked especially carefully, several times if necessary. Also the two canopies. Here I soak as often as necessary until the leather balm runs through on its own. Note: With the neck umbrella rather nothing runs through.
Then I paint the hood inside and in, including the inner lining. This process can be repeated several times depending on the condition of the leather.
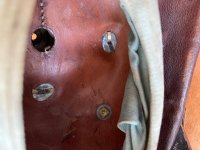
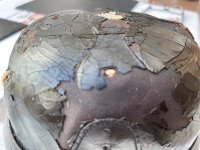
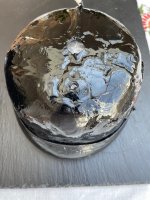
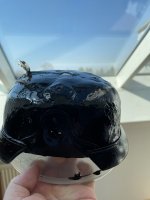
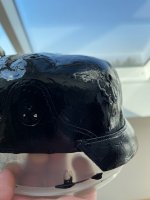
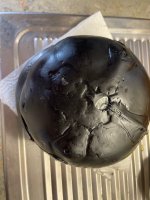
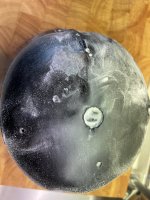
Pickel hoods are usually sunken at the top. If the pickle hood can be pressed at the point where the large ventilation hole is in the leather without it crunching, then it is optimally soaked. Please do not press too hard or the shellac will be lost.
As you can see, this is exactly what happened to mine. A lot of the varnish chipped off and was no longer firmly attached to the leather due to the deformation.
 0E7F9162-1C69-4FC9-88CE-6F237FCA9B57.jpg555 KB · Views: 31
 8CD320F8-7470-4E26-AA9F-106804ECA29D.jpg483.8 KB · Views: 30
 17A5ACD1-CF7C-454C-9788-90C312951C69.jpg453.3 KB · Views: 30
 3857F182-A80D-466D-82E8-DAEBC50F9957.jpg474.5 KB · Views: 30
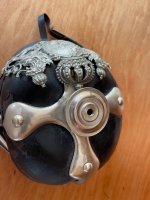 52040AF7-CBC4-44BE-A576-04355CC293D3.jpg433.1 KB · Views: 32
 85191A92-12BF-489E-B1CC-47B8941C25EF.jpg464.4 KB · Views: 31
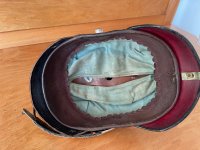 A9F465DF-95C2-405E-8C06-3D7E34FA0411.jpg659.6 KB · Views: 31
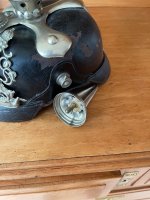 4376636F-BE11-4043-8ED0-E4653A86D6E5.jpg524.3 KB · Views: 28
")