It's raining here today, no sun and I need a break from stitching officer helmets so time to rebuild an M67 chin scale. It has been awhile since I have done this so I thought that perhaps the membership might be interested. I restitched the visors on this helmet in January. The helmet belongs to forum member Alan G. and he has now sent me the scales from the M67 one of which needs to be rebuilt and 3 missing scales replaced. Some photos:
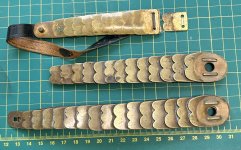
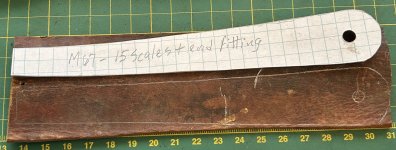
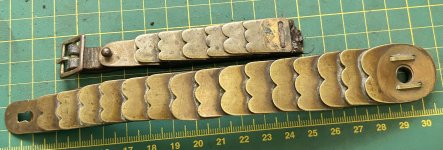
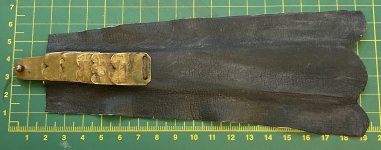
I asked Alan to send both scales so I can use the complete one to help with this rebuild. The missing 2 scales plus male locking scale is sooooo... typical of haube scale problems! These are always the first to break off and get lost. The top scale is the "donor" from which we will supply the missing bits. As we shall see, this is a more modern scale made from thinner brass.
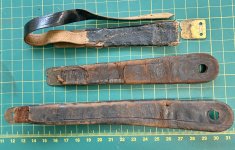
The 1867 scales are thicker and heavier. The backing strip to which the scales are stapled is aprox. 4mm thick. The difference between it and the modern donor is obvious....a fibre staple strip covered in black oilcloth.
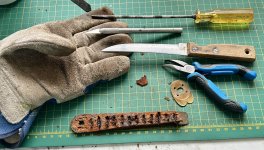
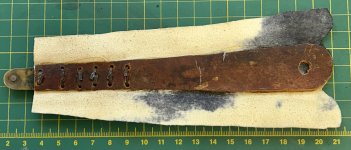
I have removed the thin leather cover and pried up the staples ready for removal. You can also see the "tools of the trade" here. The Xacto and pairing knife are used to pry up the staples so it is wise to wear a heavy work glove on the left hand. You can see that the largest scale has already been removed. The long blade screw driver comes in very handy when dealing with pronged haube fittings and the curved nose pliers are essential !
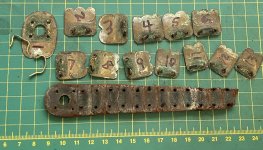
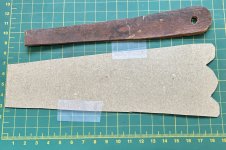
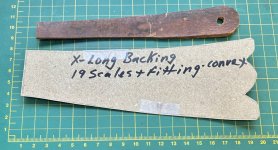
Original scales removed and numbered....always number them so you know the correct order for re assembly! We are going to use the original staple strip plus the single complete scale to make a proper sized leather replacement strip. To be continued...
PS: James, I worked on your helmet yesterday!

I asked Alan to send both scales so I can use the complete one to help with this rebuild. The missing 2 scales plus male locking scale is sooooo... typical of haube scale problems!

The 1867 scales are thicker and heavier. The backing strip to which the scales are stapled is aprox. 4mm thick. The difference between it and the modern donor is obvious....a fibre staple strip covered in black oilcloth.

I have removed the thin leather cover and pried up the staples ready for removal. You can also see the "tools of the trade" here. The Xacto and pairing knife are used to pry up the staples so it is wise to wear a heavy work glove on the left hand. You can see that the largest scale has already been removed. The long blade screw driver comes in very handy when dealing with pronged haube fittings and the curved nose pliers are essential !

Original scales removed and numbered....always number them so you know the correct order for re assembly! We are going to use the original staple strip plus the single complete scale to make a proper sized leather replacement strip. To be continued...
PS: James, I worked on your helmet yesterday!
Last edited:


