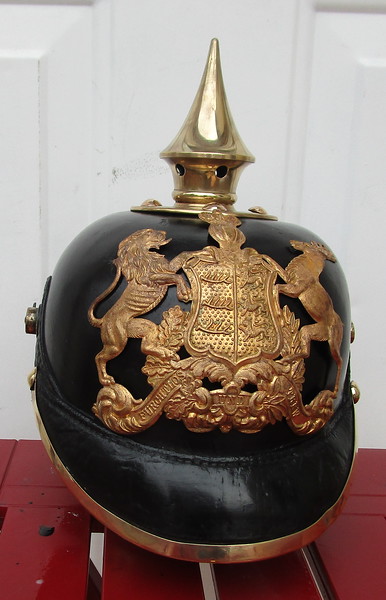
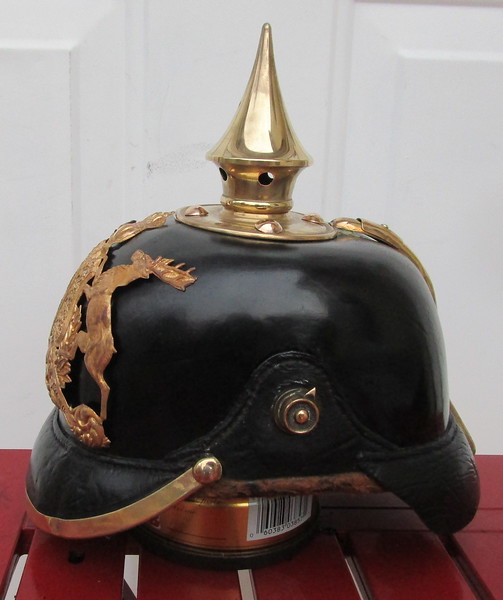
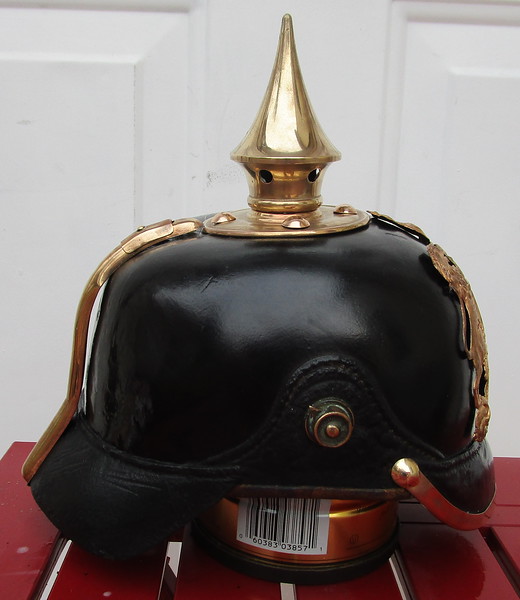
Photos of the completed JR 126. Work done...restitch both visors, provide one original trim brad. resolder split brad on spine, clean all fittings, refinish areas of missing lacquer, apply polish to entire helmet to blend in new finish.
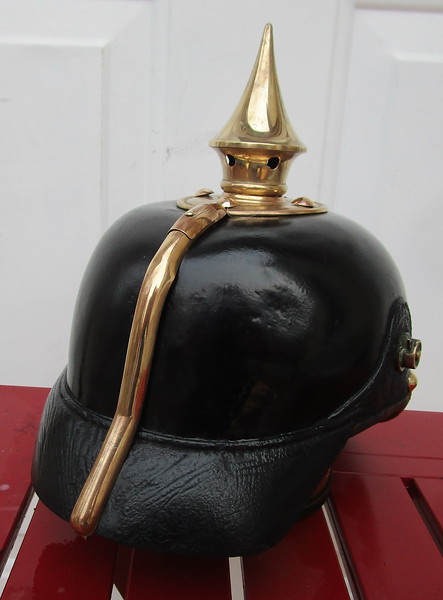
This helmet was dried out/shrunk over 100+ years and as a result the brass visor trim was too long when I tried to put it back on. Consequently, approx .25 inches had to be cut off one end of the trim and a new hole drilled for the trim brad. I do not believe in putting extra holes in helmets and I always strive for the restoration to be hidden as much as possible. Thus, cut the trim, drill a new hole and the brad covers the cut end. The side view showing the gap between spine and shell illustrates how much this helmet shrank over the years.

") )? What consistency should the shellac have?
)? What consistency should the shellac have? . I use shellac flakes melted with shellac thinner. There are formulas used by furniture makers available on the internet but they really can't be used for what I do. I am dealing in small amounts, I just pour some thinner in a small jar and keep adding flakes until I think I have the right "consistency". You have to stir the flakes and try to break them up. I will also crush/break them as much as I can before adding to the thinner. A mortar and pestle would be handy for this but I don't have one yet. You let the thinner and flakes melt for a couple of days in a cupboard. Flakes do not like "light" so keep them and your "melt jar" in a cupboard. The next step is to pour off a portion of the melted shellac into a smaller jar and add black dye. The shellac dye is hard to find in small quantities but there is a US company called Stewart Macdonald which sells tools and supplies for luthiers. You want: Concentrated Liquid Stain Color Tone #5040 Black. Be careful with the stain, as it is very easy to get it all over your fingers and work area. I hope this helps. :thumb up:
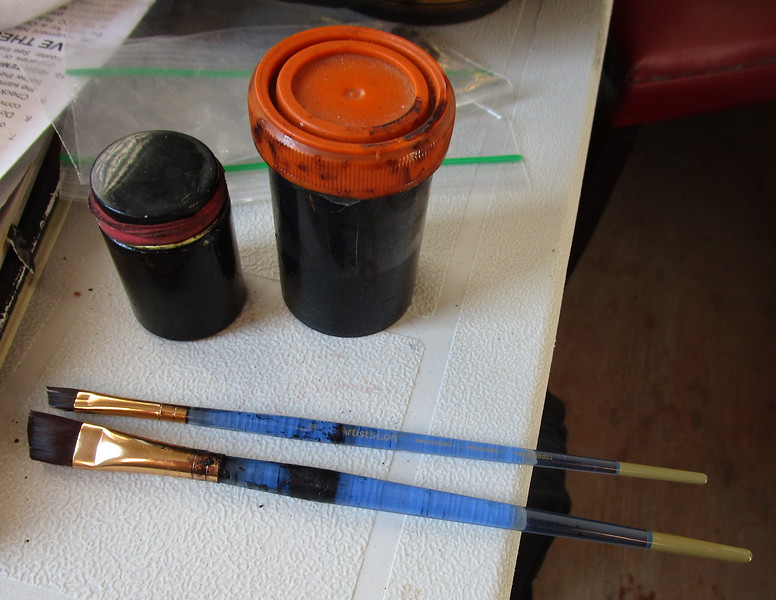


 :wink: