
Peter B
Well-known member
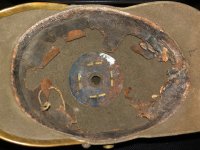
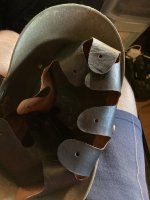
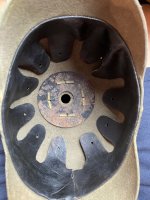
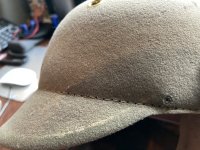
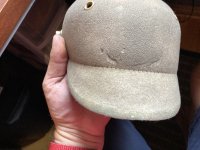
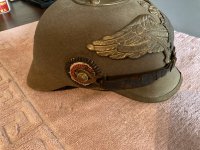
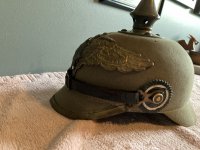
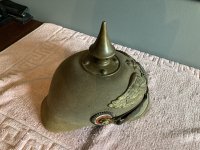
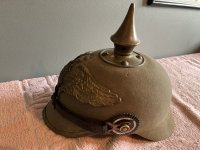
So by chance I was talking to Brian and to make a long story short I decided to replace the rotted liner in my Prussian Guard Felt Pickelhaube with one of Brian's high quality replacements. Thank you to Brian for giving me the liner (and tons of advice) free of charge.
There may be different views on removing the old liner but I must say the final result is way nicer than the rotted one that was slowly deteriorating. I think some mice had a field day in an attic with it at one point.
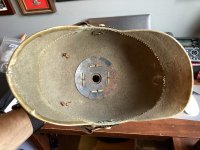
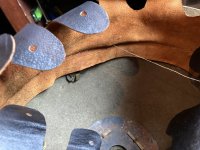
I learned a lot from Brian. Tools and advice make all the difference. Using a Pin Vice Drill to remove the old thread and clean the thread holes made a huge difference, as did using T Pins to hold the liner in place initially.
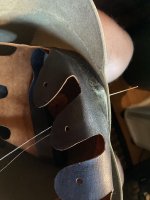
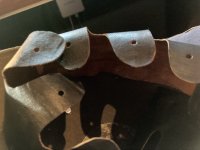
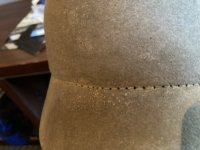
The first round of stitching went really well and I got into a rhythm the further I went around the helmet. The second run was much more difficult and I ended up using a small straight pin, sticking it in from the outside and then using it as a guide to get the needle back out through the right hole.
Be very careful with your long thread as mine developed "loop knots" (not sure what else to call them) a couple of times. Once I was able to get it untied and another time I just had to tie off the thread at that point and start a new one. If I ever do this again I will be much more slow and deliberate to avoid this.
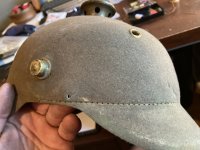
I also didn't think through the meeting of the two ends very well and had to undo some thread to get the ends placed correctly with the piece at the end going under the starting piece. I should have started sewing a little bit further down the starting end.
A daunting project but the reward was worth it. Here are some pictures.
Cheers.
Peter
There may be different views on removing the old liner but I must say the final result is way nicer than the rotted one that was slowly deteriorating. I think some mice had a field day in an attic with it at one point.
I learned a lot from Brian. Tools and advice make all the difference. Using a Pin Vice Drill to remove the old thread and clean the thread holes made a huge difference, as did using T Pins to hold the liner in place initially.
The first round of stitching went really well and I got into a rhythm the further I went around the helmet. The second run was much more difficult and I ended up using a small straight pin, sticking it in from the outside and then using it as a guide to get the needle back out through the right hole.
Be very careful with your long thread as mine developed "loop knots" (not sure what else to call them) a couple of times. Once I was able to get it untied and another time I just had to tie off the thread at that point and start a new one. If I ever do this again I will be much more slow and deliberate to avoid this.
I also didn't think through the meeting of the two ends very well and had to undo some thread to get the ends placed correctly with the piece at the end going under the starting piece. I should have started sewing a little bit further down the starting end.
A daunting project but the reward was worth it. Here are some pictures.
Cheers.
Peter


")
 Ron
Ron