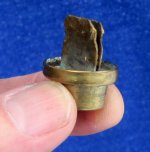
As a restoration person, I have assembled a number of parts in my travels. Here is a little foto essay on the parts and some of the variations of the famous M91 side post. (Photos replaced Jan. 2020)
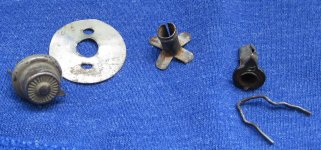
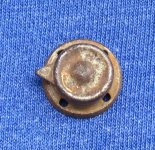
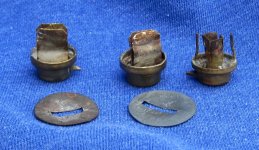
The basic parts of the M91 post all of which are soldered together. Lacking any official descriptors of the parts, I will make up my own: the tin backing plate, the post head, the wire prongs, the "V" point and the center post, the tines which, are bent back over the backing plate. Note that the one center post in this pic has the V point remaining while the other does not. This style slid into a slot in the post head of some M91 models.
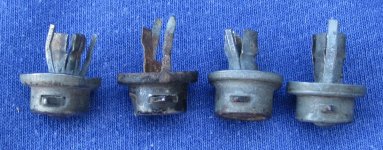
Four variations of the M91 post head, there are probably more and another reason why, my fellow collectors that $250 original Ebay chin strap won't fit on your hat!!:

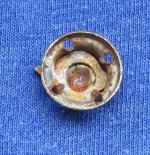
The back side:

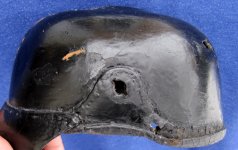
Another very unusual M91 variation which I will call the "stitch on" M91. This came off an M15 Garde scrapper. The other post was the usual M91. This was stitched on to the shell with heavy duty cotton un dyed thread. Note the lack of detail compared to the other posts shown here.

The basic parts of the M91 post all of which are soldered together. Lacking any official descriptors of the parts, I will make up my own: the tin backing plate, the post head, the wire prongs, the "V" point and the center post, the tines which, are bent back over the backing plate. Note that the one center post in this pic has the V point remaining while the other does not. This style slid into a slot in the post head of some M91 models.
Four variations of the M91 post head, there are probably more and another reason why, my fellow collectors that $250 original Ebay chin strap won't fit on your hat!!:

The back side:

Another very unusual M91 variation which I will call the "stitch on" M91. This came off an M15 Garde scrapper. The other post was the usual M91. This was stitched on to the shell with heavy duty cotton un dyed thread. Note the lack of detail compared to the other posts shown here.


