CRUSHED !!!

b.loree

Administrator
Staff member
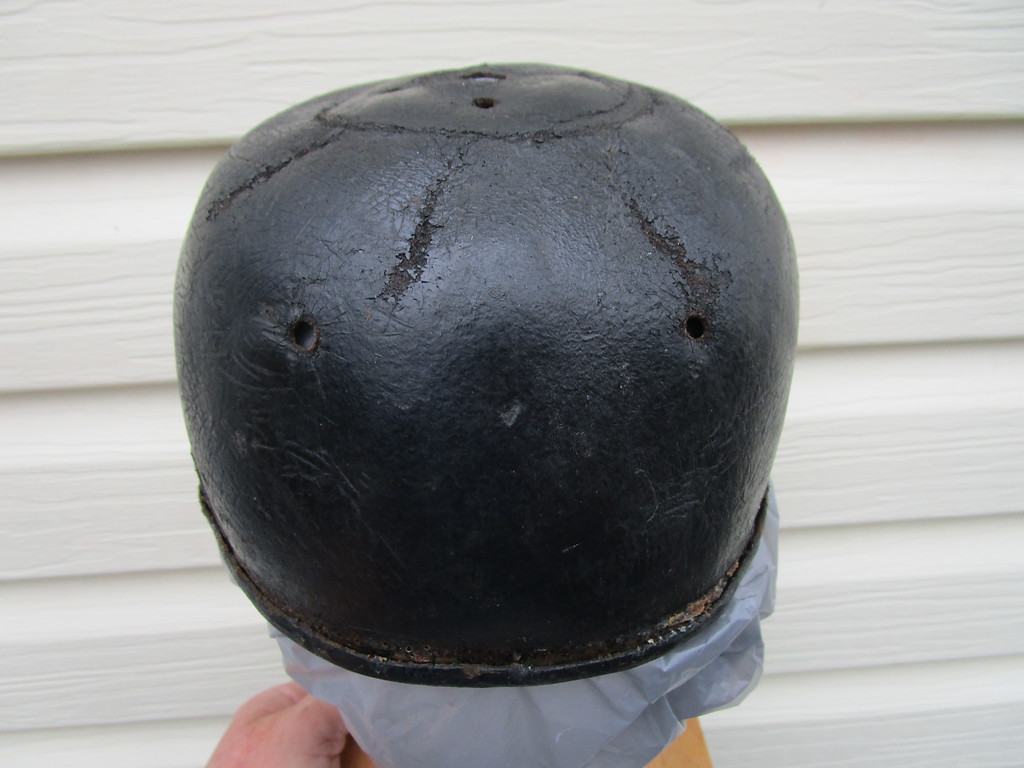
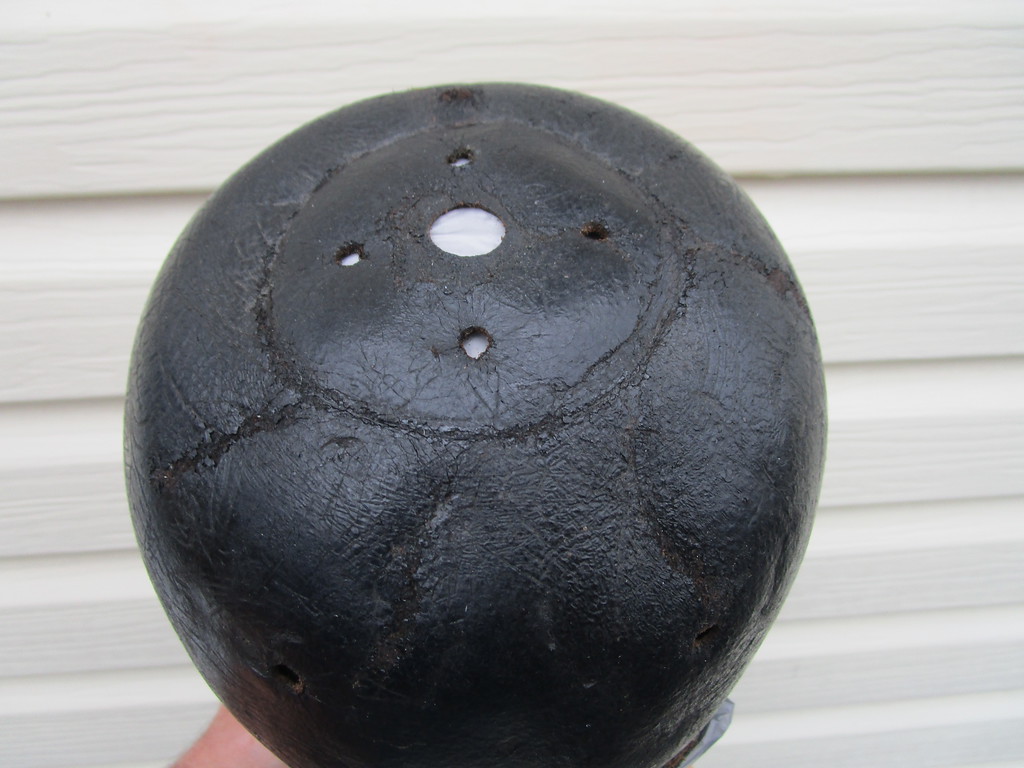
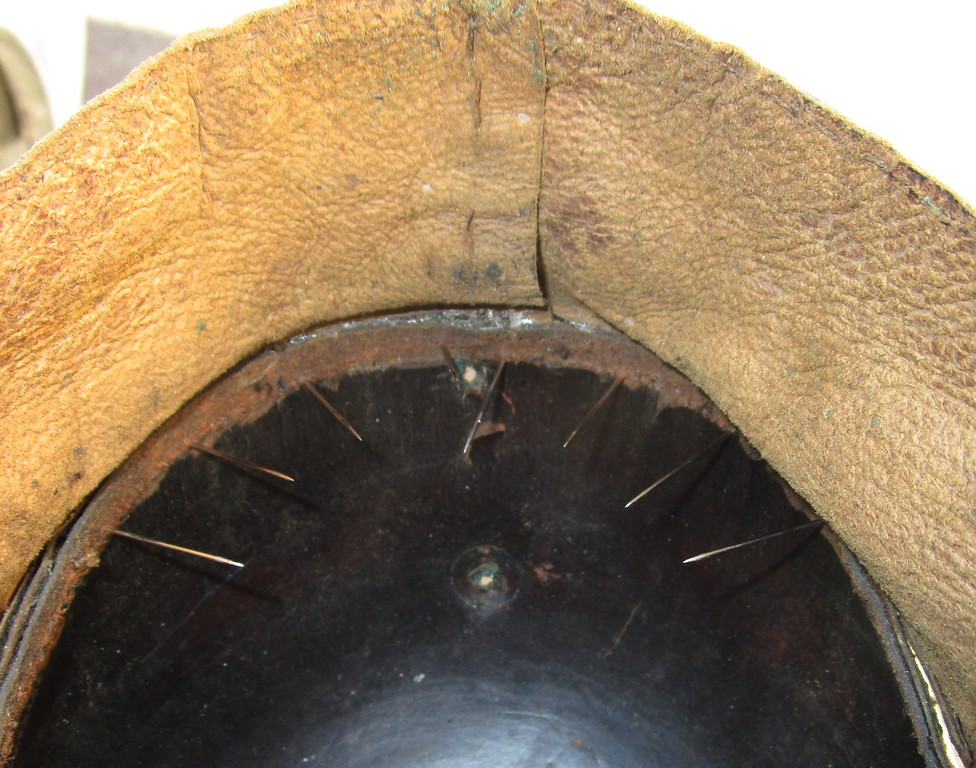
Here are some photos of a damaged helmet sent to me by the Heritage Arsenal a military museum consultancy organization based in Colorado. This officer haube was crushed in transit by a moving company :( . This is the worst case I have ever seen! Here are the "before pictures":
IMG_1538-XL.jpg

IMG_1541-XL.jpg

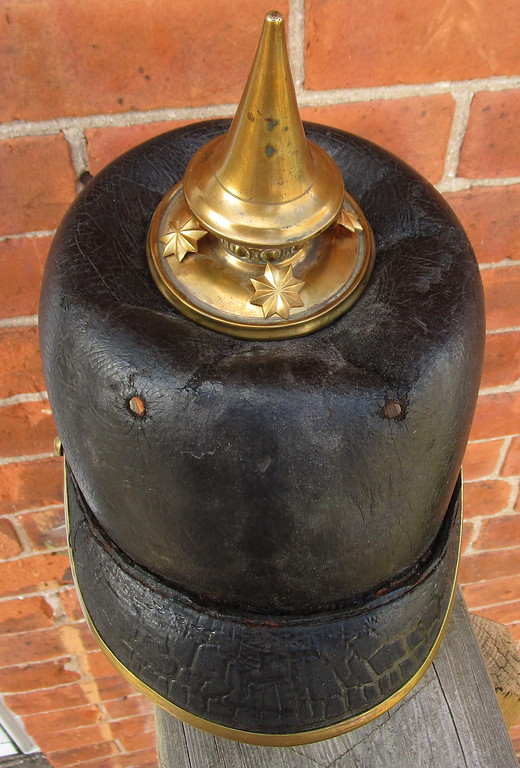
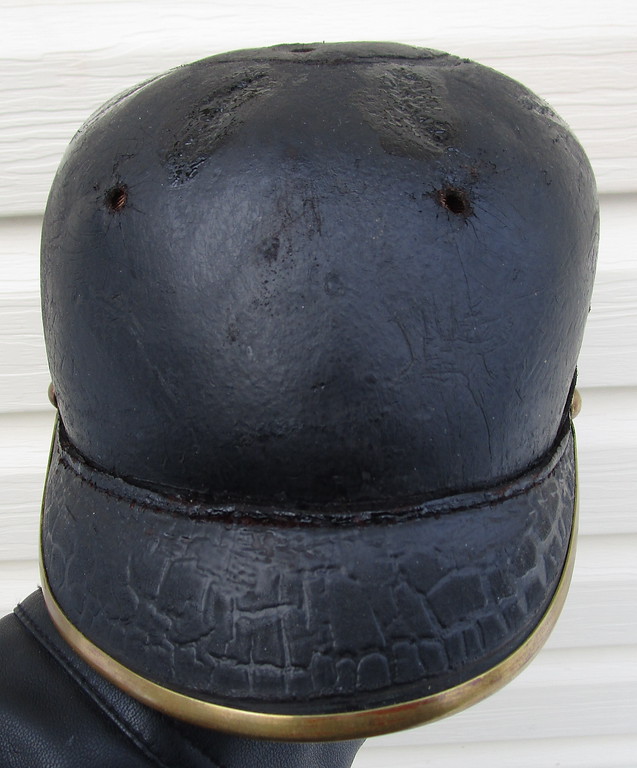
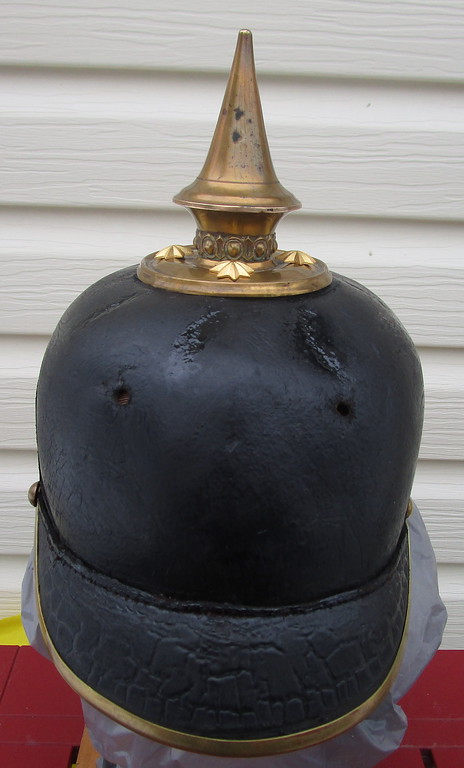
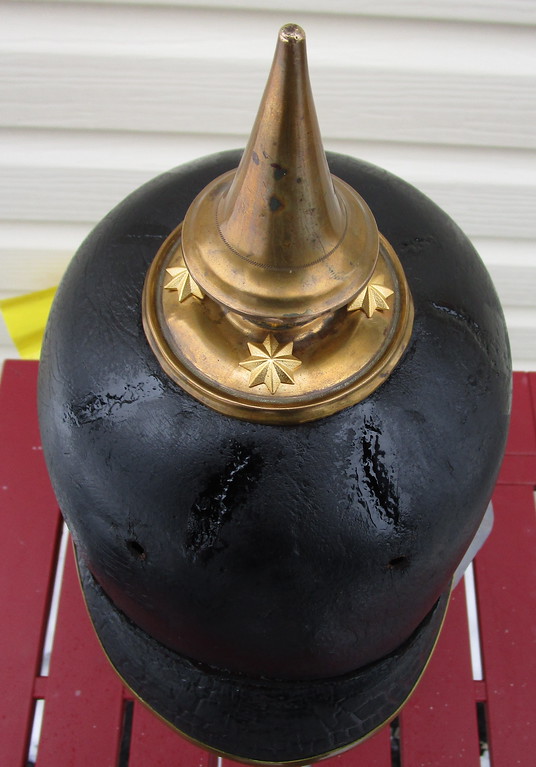
It does not get much worse but we shall see what can be done.
IMG_1540-XL.jpg

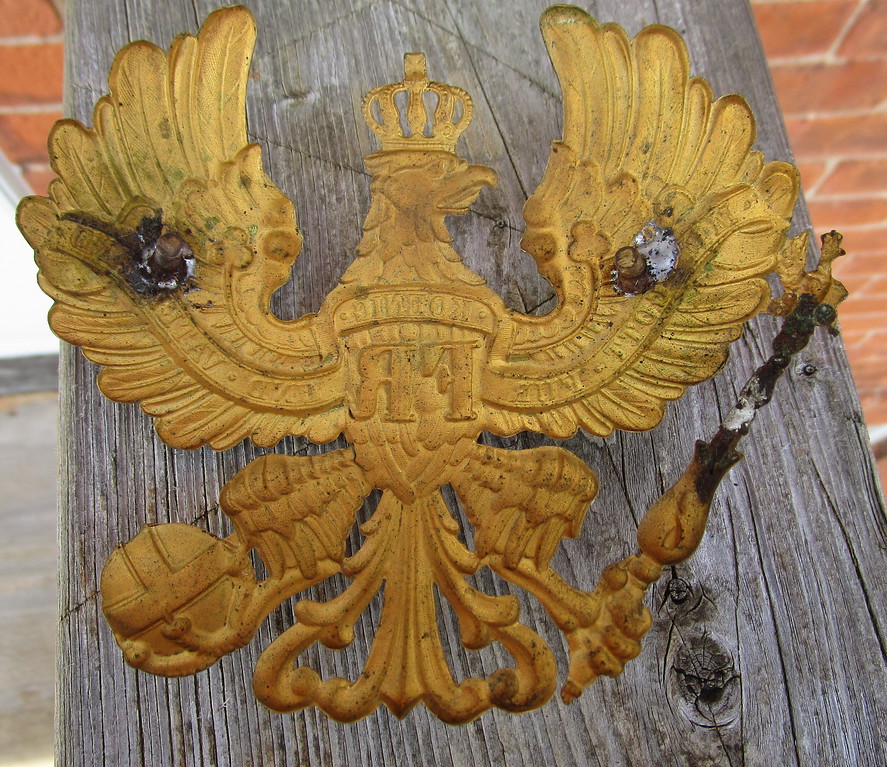
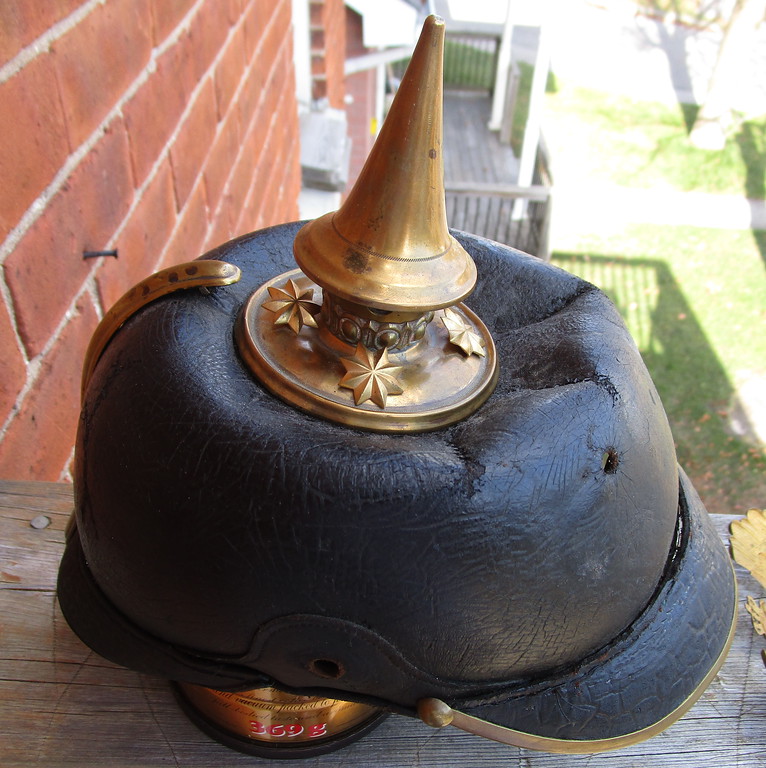
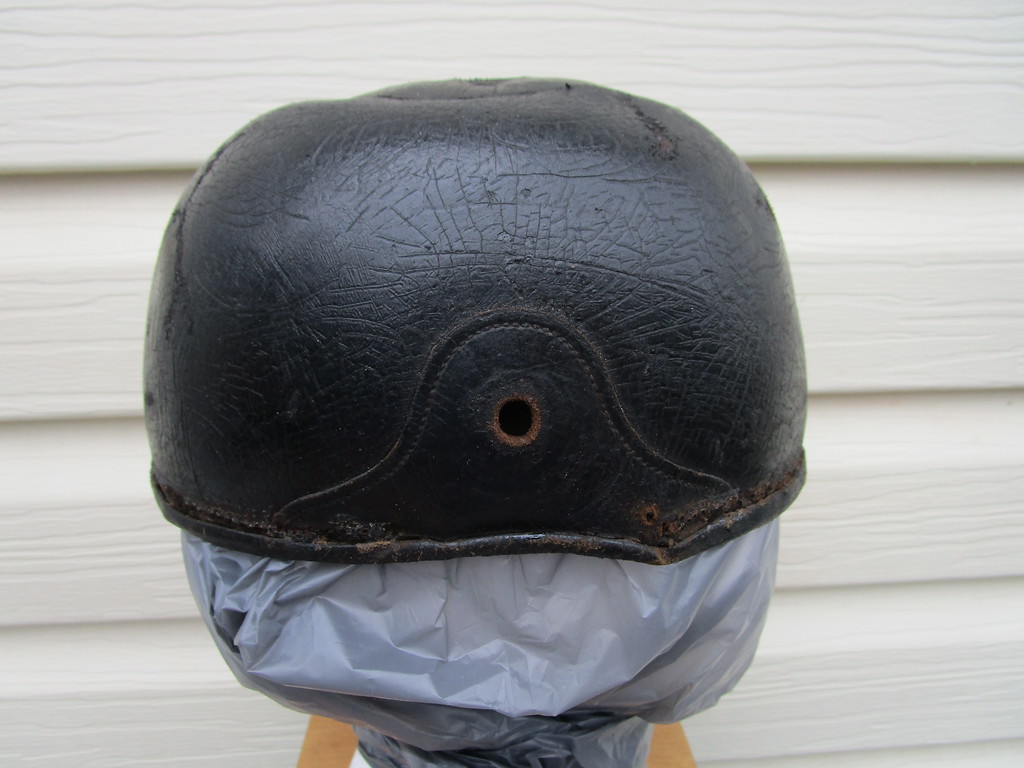
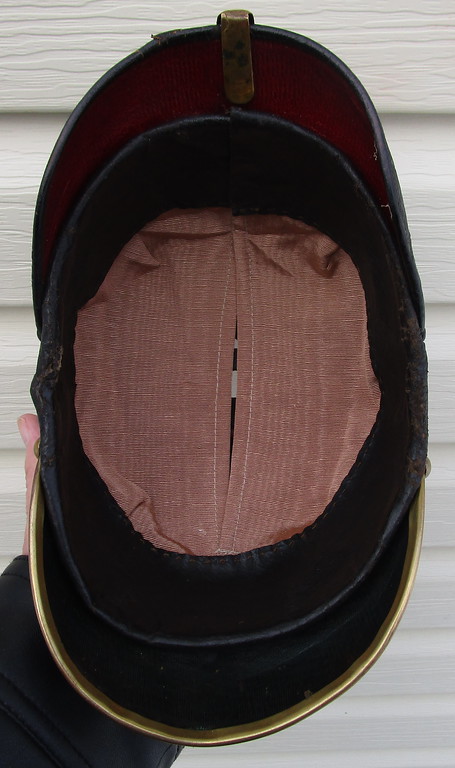
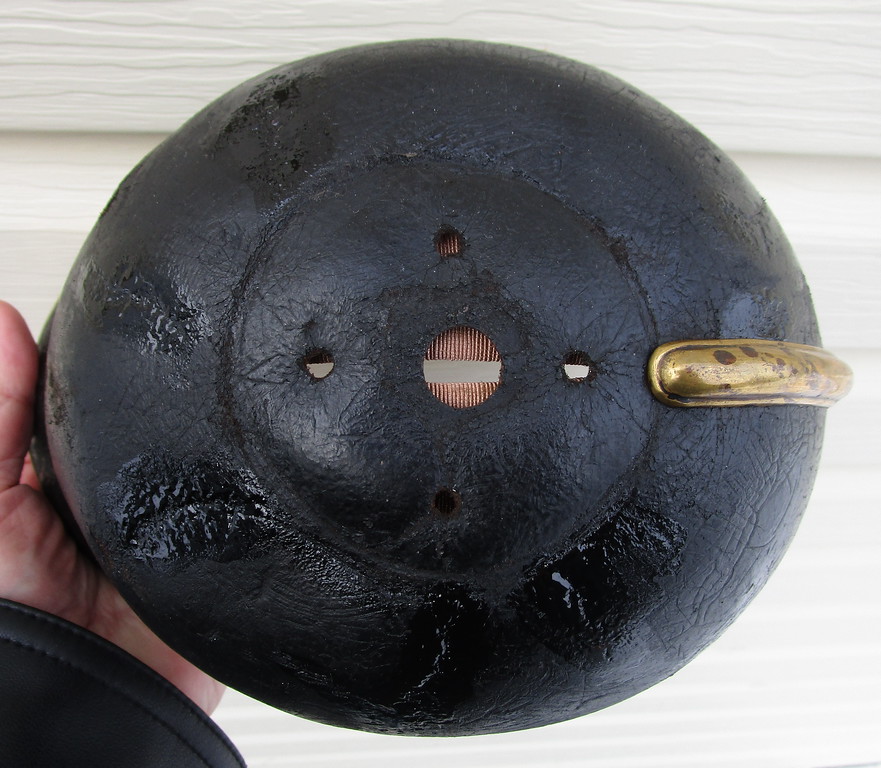
The only original parts on this haube are the wappen,sspike, rear spine and visor trim. Everything else is reproduction, even the original wappen had modern screws soldered to it so that new nuts would screw on.
IMG_1539-X3.jpg

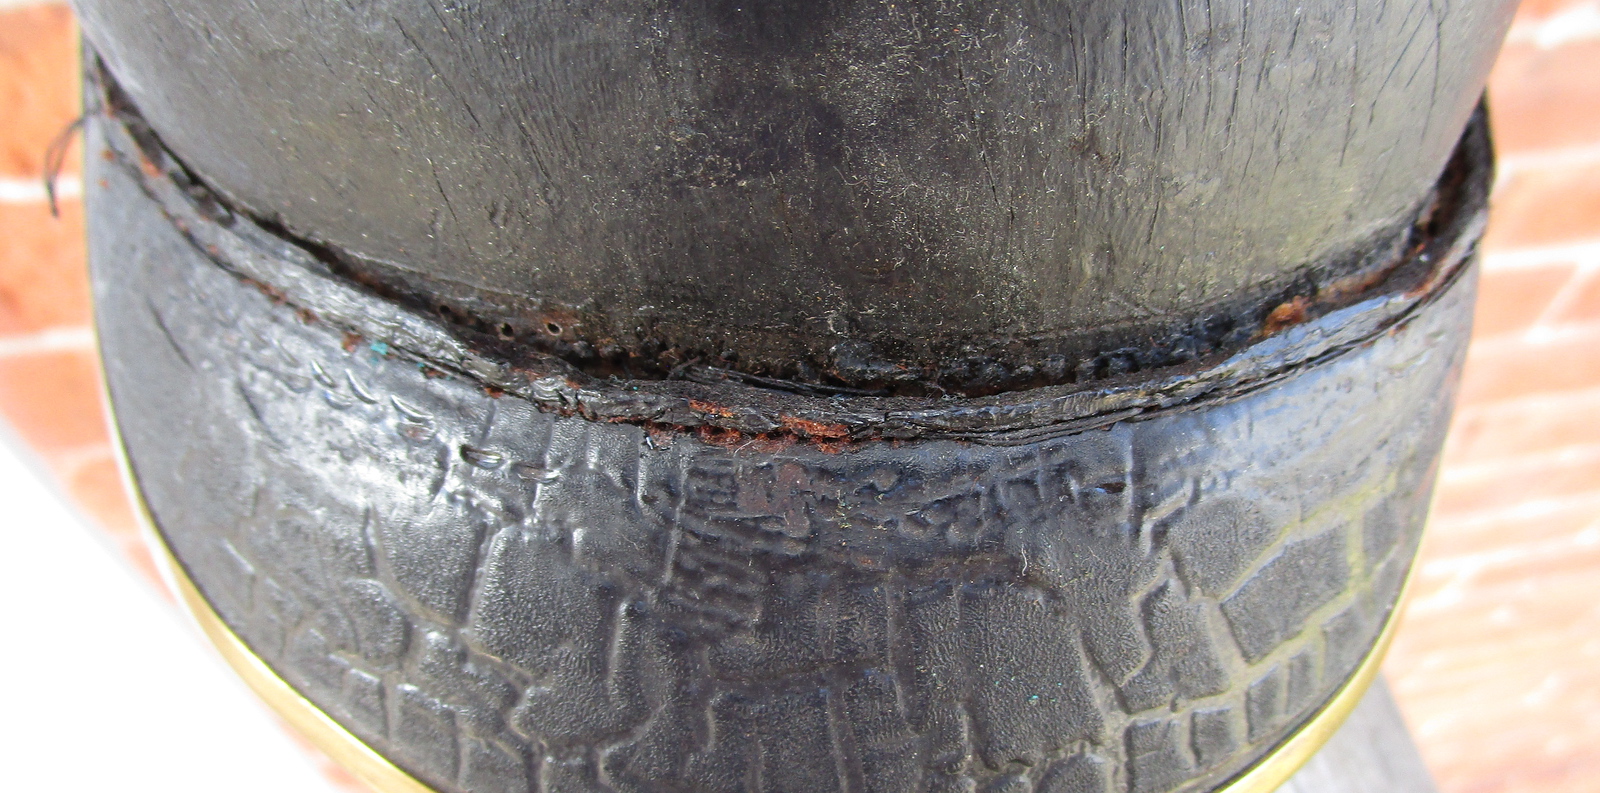
Both visors have been stitched on using modern thread and they skipped many holes so that we have huge stitches as seen here. :thumbsdown: They even left the knotted end thread on the outside of the shell.
 
The crushed top has now been put back into correct position using the method previously described. There was some finish loss in the creased areas but this will be filled in using the 1876 formula.
IMG_1585-XL.jpg

IMG_1586-XL.jpg

IMG_1587-XL.jpg

All stitch holes have been cleaned out and I am just waiting for a sunny day to begin stitching :) You can not beat natural light when stitching.
IMG_1578-XL.jpg

The amateur attempt at restitching was a complete mess! No surprise, there is also glue residue present.
 
Looking forward to more progress photos especially on correcting the finish damage.
I have a little Saxon helmet here which is a testament to your stitching prowess!

Eric
 
I remember that helmet well Eric, a very unique piece, one of a kind! :D 
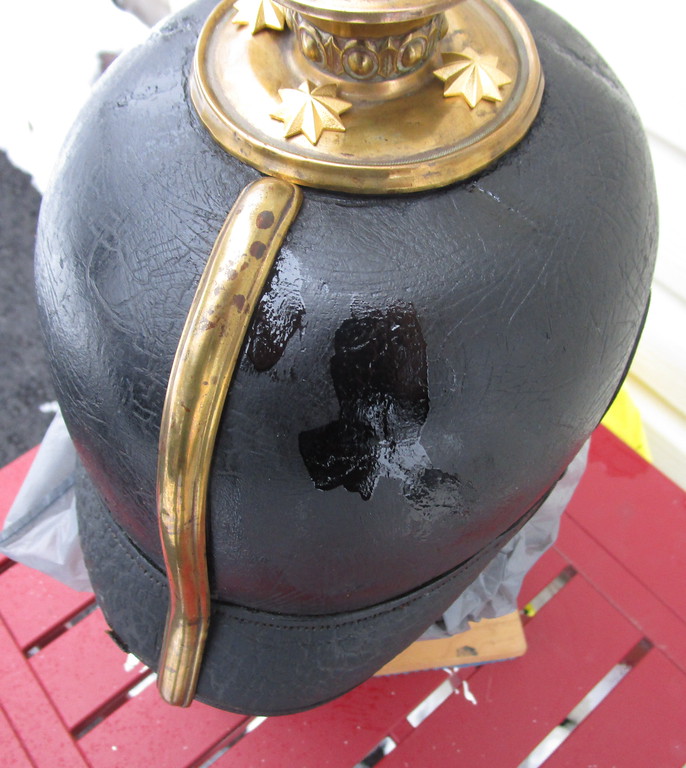
The 1876 formula works well but has the consistency of water , it will fill in a bit ie. cover the missing finish but it is impossible to get rid of those dents caused by the creases in the shell...at least with my skills.
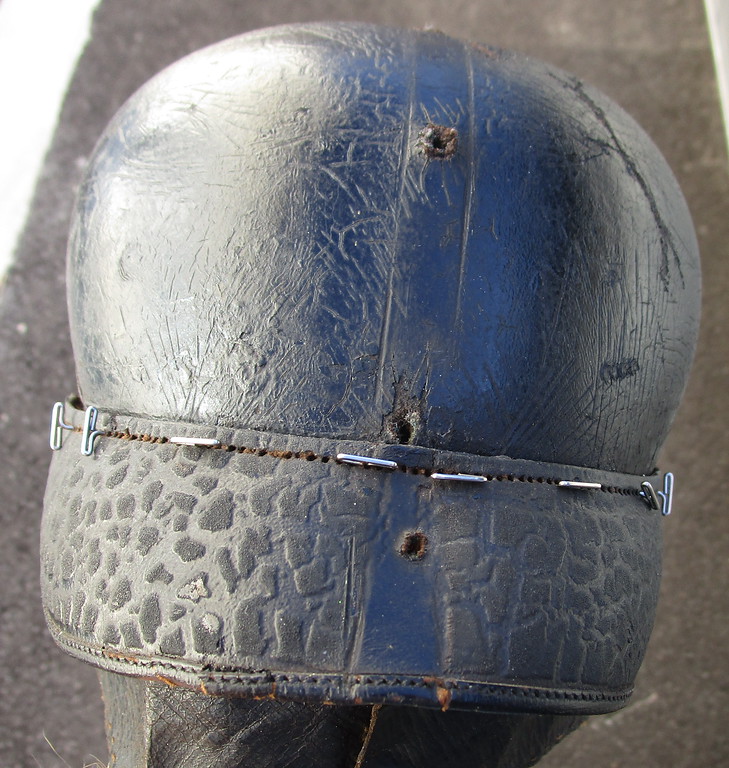
 
Yes and thanks for the question John. I will post some more photos shortly. I have both visors back on and I must say, that it was a Bi..h of a stitch! :-? Including my re stitch and the original manufacture, these visors have been stitched 3 times, plus there was glue applied as well. The stitch line on the front visor was also separated and suffering from old age red rot. I had to glue a patch strip of thin black leather behind/ along that broken/rotted stitch line, so as to have something for the thread to hold onto. I pride myself on the fact that normally, I can line up all the stitch holes and produce something that is exactly like the original but this time, there was just no way! :x Many of you know, that I am a perfectionist so this drove me crazy but I had to step back, cool my jets and realize that everything can not be perfect....I did my best. It sure looks a Hell of a lot better than it did when it fell into my hands. I am still adding finish to those creases in the top of the shell just to sort of fill them in a bit. Tomorrow I put the fittings back on. One last thing, I really appreciate that all of my customers have never pressured me to live up to some deadline, it can't work that way. Case in point with this piece, the interior of the shell is a dark chocolate brown colour, I can only see the stitch holes in natural sunlight. So I had to tell the customer...I could only stitch on sunny days! :D He was cool with that and we got it done. To be continued. :thumb up:
 
Thanks for the reply back in September. As you will note, I was not very active for several months due to health and family emergencies. Now things are on a more even keel, so to speak, I have time to catch up on what is happening in the forum—Happy New Year to one and all.
Best regards,
John
 
Ok, finally got my camera download issues fixed. This is where we are at now:
IMG_1640-XL.jpg

Using holes and marks on the helmet to line things up.
IMG_1643-XL.jpg

Large hands are not a good thing here!
IMG_1651-XL.jpg

Front visor and trim back on. A portion of the stitch line had rotted through so a thin strip of black leather had to be glued along the tear. This gives the thread something to grip to so the area is pulled tight to the shell.
IMG_1650-XL.jpg

A repro silk liner purchased from Poland was stitched in. I am quite impressed with quality and accuracy of this repro. Naturally, it looks new but you can't age things 100+ years.
IMG_1652-XL.jpg

IMG_1653-XL.jpg

At the moment, I am adding some finish to the creases caused by the "crushing". I will put all fittings back on and ship this back to Colorado very soon.
 
A few days ago, I decided to put the spike back on this "old beast". As usual it fought me....the threading on 2 of the star shanks were buggered so, I had to put on an entire set of my own repro stars, no problem. I also replaced the home made black painted copper spike base disc with some repro tin washers. Anyway, as you can see, I got it back on and it looks decent. You will note the shiny spots on the shell where I am adding 1877 finish to the creases caused by the "crushing". I will not be able to hide the deepest of these as it would take a year but the shallower ones should fill in after multiple coats. These areas are sanded every so often along the edges just to cut down on finish build up. Ultimately, after the last sanding, black boot polish will be applied to the entire helmet in order to achieve a uniform colour. The photos:
IMG_1656-XL.jpg

IMG_1658-XL.jpg

IMG_1661-XL.jpg

My customer has given the ok to continue filling in which naturally will take more time.
 
" Naturally, it looks new but you can't age things 100+ years."-Gently rub the cloth with sandpaper, then find some dust in the attic and rub it on the cloth, the effect is immediate. It will always be a copy, but looking nicer.I'm doing exactly the same as you, only on the other side of the world. Congratulations all the more, because I know how long it takes to repair. Best regards Wojtek.
 
Finally finished this piece and mailed it out today. As always, the refinish work took a great deal of time.
IMG_1895.JPG
IMG_1896.JPG
IMG_1897.JPG
Fortunately, the major creases caused by the crushing were covered by the wappen. Even so many coats of finish were applied to fill them, not completely but significantly. Some minor blemishes were deliberately left in order to fit in with the rest of the helmet.
 
Back
Top