

Jeff R
Well-known member
Nicely said Brian! His passing leaves a crater in the hobby, for sure. I'll add that one of the things I always appreciated about him, and that I miss the most, was his genuine enthusiasm for other collectors' finds as well - he was a great cheerleader for anyone that shared his passion.

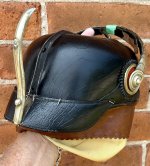
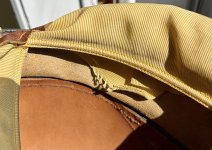
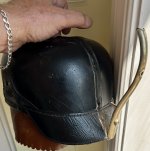


 In conclusion, because of my experience, collectors send me these rare helmets to fix. I always ask for permission to make these posts and I have never been turned down by an owner. All of this goes back to the real purpose of the forum which is simply to share, educate and support collectors of pickelhauben and militaria.
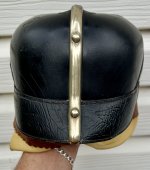
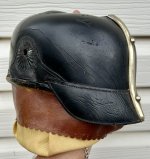

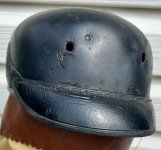
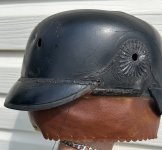
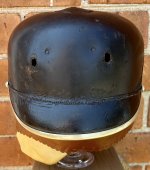
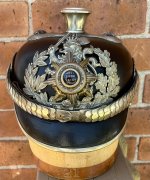
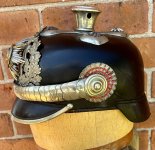

 ....unbelievable