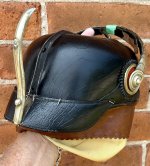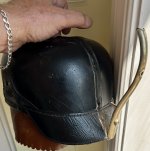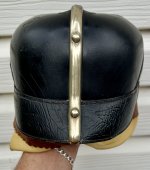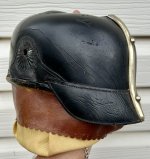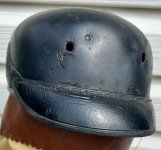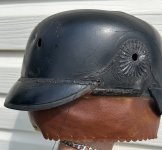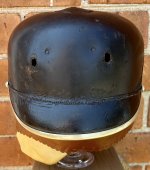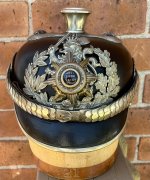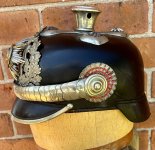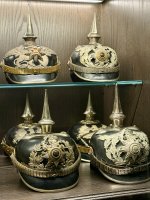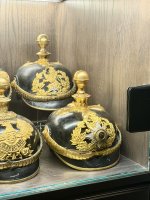
DR 23 Officer Helmet With Bravery Star

Nicely said Brian! His passing leaves a crater in the hobby, for sure. I'll add that one of the things I always appreciated about him, and that I miss the most, was his genuine enthusiasm for other collectors' finds as well - he was a great cheerleader for anyone that shared his passion.
 
Some photos showing todays progress:
IMG_5206 2.jpeg
Pinned for the restitch. When I began doing this years ago, I used to start pining from the tip of the visor and counting stitch holes work my way across. However, now after years of experience, I simply line up the lines made by the spine in both shell and visor and put in two pins. This secures the visor in the correct position...count holes left and right from these 2 and place your pins. Last you secure the tip of the visor to stop it from flopping around. Note also that all the spines on a cruciform base helmet have a "V" notch cut in them. This allows the star screw post or domed split brad to pass through into the shell.
IMG_5212 2.jpeg
I had some sun here today so I got to work. This pic is a bit fuzzy but you can see that the first pass fills in every other stitch hole and this stitch line is going to be perfect when complete. Initially, you must make sure that you have lined up all the holes accurately! Having done this, your job is relatively easy especially as in this case when the helmet is in great condition.
IMG_5209.jpeg
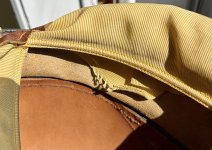
The first pass is finished and no more pins to prick the hands. Leaving the spine on worked but the scales had to be removed as the thread kept catching on them. We can see the 2 prongs which secure the end on the spine plus the fact that the last domed brad is simply soldered to the inside of the spine. Last, we have a clear shot of the "spine lines" which help us line up the stitch holes. These are present on every pickelhaube that I have ever worked on. I should be able to finish this visor tomorrow.
 
In this picture, you can also see the finish chipping which happens along the stitch line when you clean out the stitch holes. I don’t think that there is any way of preventing this. In the same vein, when cleaning out the holes in a visor, always work from the outside in so you don’t chip the finish. However, you will encounter areas along the stitch line where the finish has melted over this line and you have to have to use your drill bit from the inside surface, where you can see the stitch holes. Ccj I know that Doug appreciates your kind offer but the helmet will be returned to the great province of Alberta. 😀
 
Brian - you, sir, are an artiste. Thanks for sharing these detailed step-by-step images! These are always awesome and educational. 😺
 
Thanks Jeff, I was a History teacher for 37 years so I have that personality. I am in my 70's now and know that there will come a time when I can't do these restorations. So, in all of my posts here, I try to show how things are done. Wojtek in Poland has also done the same. Other members in the US have posted their own projects which is great so we share information/methods. Sandy in Germany gave us the original formula for the shellac finish. A few months back, we had a member using dull point quilter needles to stitch. I had never thought about these and had always used "glover needles" which are very sharp and can catch in the leather. Now I use the quilters which are so much easier! :) In conclusion, because of my experience, collectors send me these rare helmets to fix. I always ask for permission to make these posts and I have never been turned down by an owner. All of this goes back to the real purpose of the forum which is simply to share, educate and support collectors of pickelhauben and militaria. (y)
 
Back
Top