MG34NZ
Active member
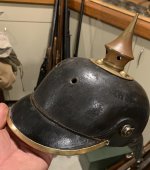
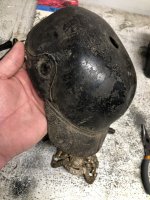
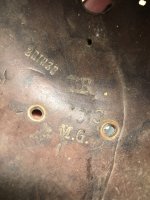
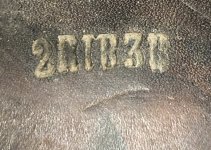
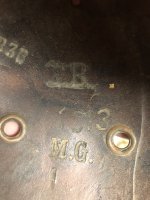
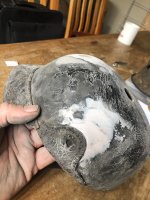
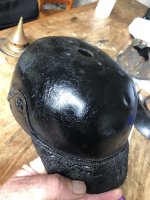
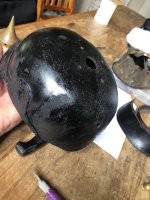
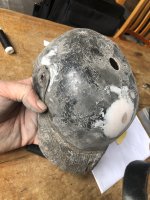
Here’s a helmet that had languished on my shelf for quite some time, this was in a bulk lot of three neglected helmet shells I found on eBay.fr . The only thing remotely interesting about these helmet shells was this one with MG markings as I have a misguided passion for MG08’s. I rehydrated the leather on this helmet which had shrunken up and resembled a squashed football, with a little patience the shell has reshaped surprisingly well. There were holes in the shell which I have reinforced with leather patches and further down the track these will be filled with some epoxy type filler. The shell measures around 58 cm around the circumference.
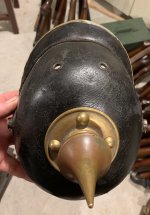
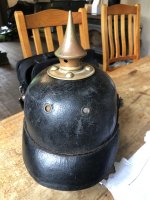
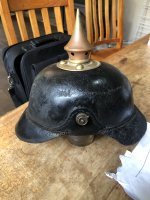
I believe it to be a Bavarian shell but the lugs on the wappen I have are a little wide ( half a hole out) . I have a replacement spike, brass domed rivets, spike reinforcing plate, chin strap lugs. I’m fairly sure there’s a liner somewhere in my horde which may fit. To complete this project I need to find a front visor and rear spine.
I believe it to be a Bavarian shell but the lugs on the wappen I have are a little wide ( half a hole out) . I have a replacement spike, brass domed rivets, spike reinforcing plate, chin strap lugs. I’m fairly sure there’s a liner somewhere in my horde which may fit. To complete this project I need to find a front visor and rear spine.
Attachments
-
 70F3C739-DA09-4A1C-A383-0D4EEF4B7757.jpeg1.5 MB · Views: 35
 -
 DCAB7FFA-F69E-4D3D-9C0B-D4D351493BD2.jpeg1.6 MB · Views: 39
 -
 54B8B4F2-F170-40F8-A48E-64F4877EB366.jpeg2 MB · Views: 37
 -
 DEF71FD8-AE42-41D6-AD0E-57027277797D.jpeg889 KB · Views: 32
 -
 08764030-401F-467A-9BA3-0A83882CFA30.jpeg1.8 MB · Views: 33
Last edited:
")