Naprawiacz
Well-known member
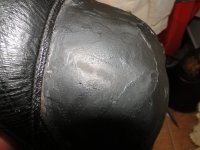
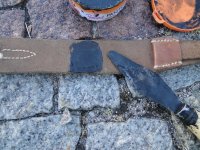
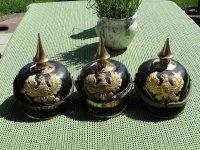
I used water with spirit vinegar to soften the skin.Then I straightened the skin with my fingers and heated it with a warm stream of air.Tomorrow after drying detailed straightening.

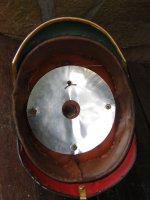
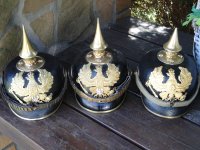
Sandy I removed the entire shellac layer and the skin alone remained except for the visorsGreat job Wojtek! How did you treat the cracks in the paint layer? Did you remove it completely or were these already repaired in the post work photos?
Paweł you have to approach each helmet individually.With my working technique you have to expect that the shellac may fall off.Great job, I also have a few, although a little less deformed to straighten, but I will use a different method of softening, which suggested to me a friend.
Regards, Paweł.
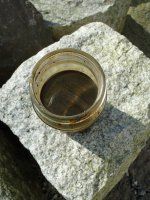
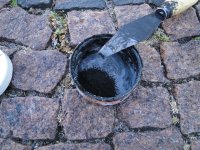
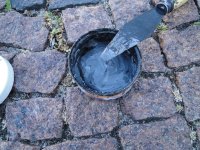
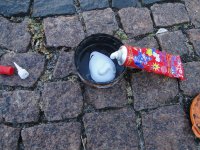
Brian I used 10% spirit vinegar in a ratio of 10 liters of water to 1 liter of vinegar.I immersed the helmet several times entirely in this solution until the material was soft.I dissolve all the shellac crumbs in 90% spirit. After one day of dissolving, the glue from the primer comes out,and after two weeks the original shellac. With this shellac I paint helmets,but only when it is already primed with glue primer,otherwise the shellac will seep through and make stains on the inside.Wojtek, how much vinegar do you add to the water? What is the ratio? I have used just plain water but this causes a black stain on the inside of the shell as the shellac bleeds through. Great job!
") I have a second question.....what is glue primer?? Is this a product that you buy? So...you are saying that originally the helmet shells were primed with glue (horse hide ?) and then the shellac was applied? This would explain why the original shellac did not bleed through the leather shell. Thanks for your help.
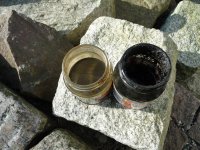
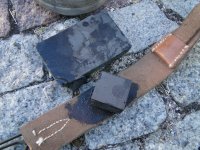
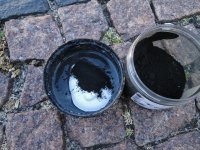
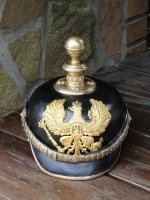
I have a second question.....what is glue primer?? Is this a product that you buy? So...you are saying that originally the helmet shells were primed with glue (horse hide ?) and then the shellac was applied? This would explain why the original shellac did not bleed through the leather shell. Thanks for your help.Brian all bodies were painted first with glue primer and then shellac.See the structure of the shellac that came off the helmet.On the other side of the splatter is brown in color.A recipe for glue primer.This is a modification of a recipe from 1845,which my colleague Christopher and I adapted to our needs a few years ago.Ingredients:Thanks for the information Wojtek...I will write that down so I do not have to ask again.
Sandy I no longer remember how it was in the original,because my composition was modified due to the fact that most of the original ingredients are no longer produced.I use available substitutes.I remember that the basic glue was rabbit glue.Wojtek, you know I'm a purist
Do you know the original recipe of your 1845 primer? It seems to work great for smoothing the surface
That's right Sandy,that's where the different primer colours come out.What I was able to research in old books when I wrote my article about pickelhauben lacquers. glue water or ocher-colored linseed oil paints were used as a primer. The latter could be the reason for the brown color.