Restoration?

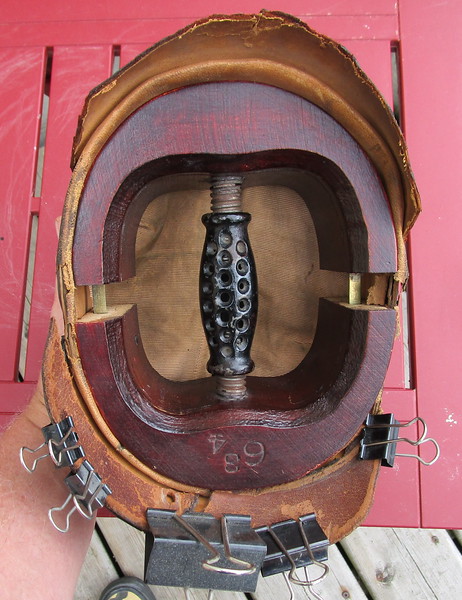
I have started the restoration, first removing all fittings and then cleaning them.
IMG_0596-L.jpg

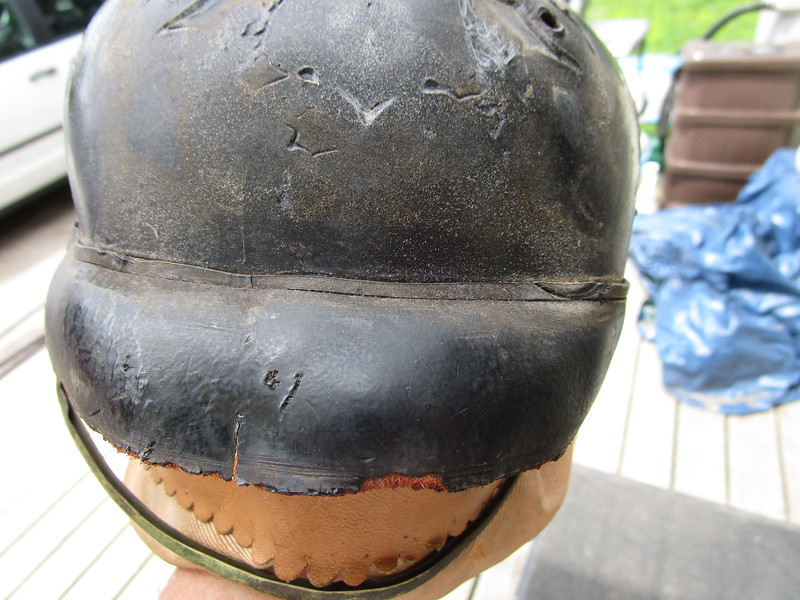
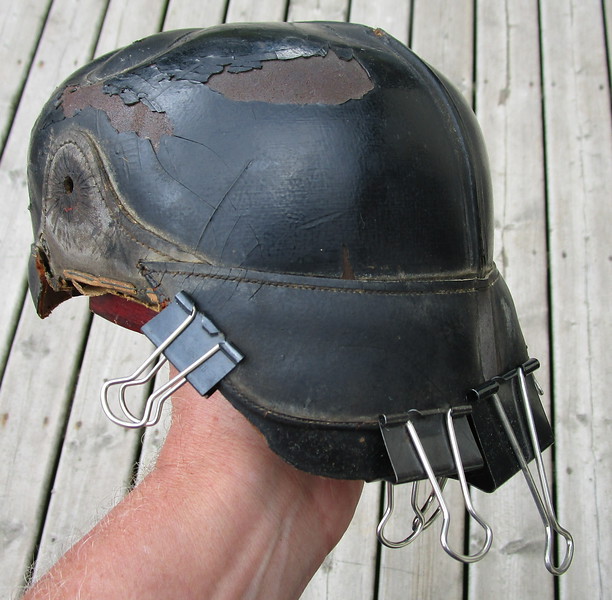
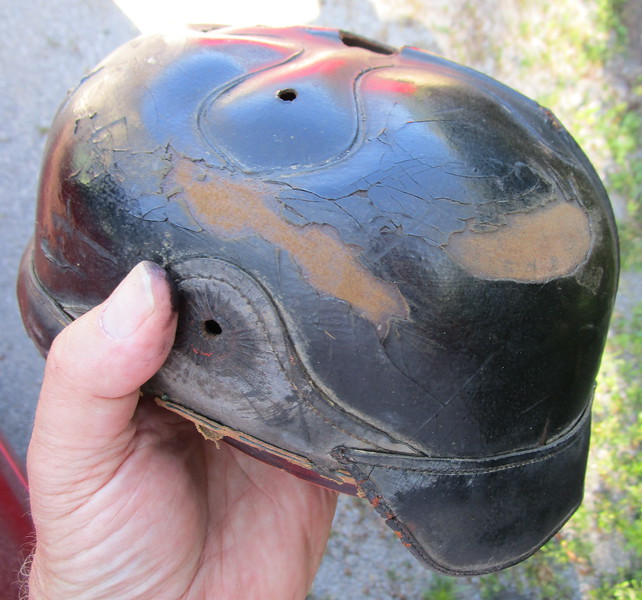
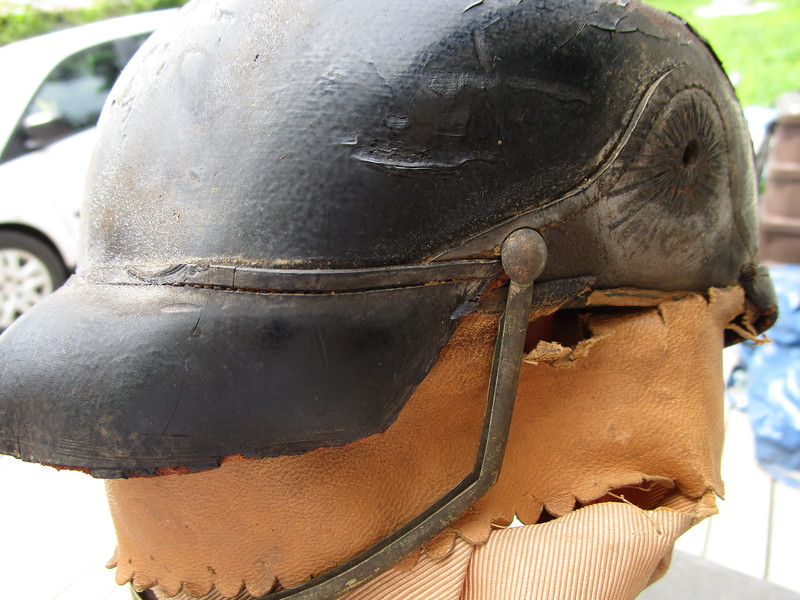
Here is a good shot of the front visor, you can see the problem with the stitch line. I have never seen this kind of shrinkage before.
IMG_0597-L.jpg

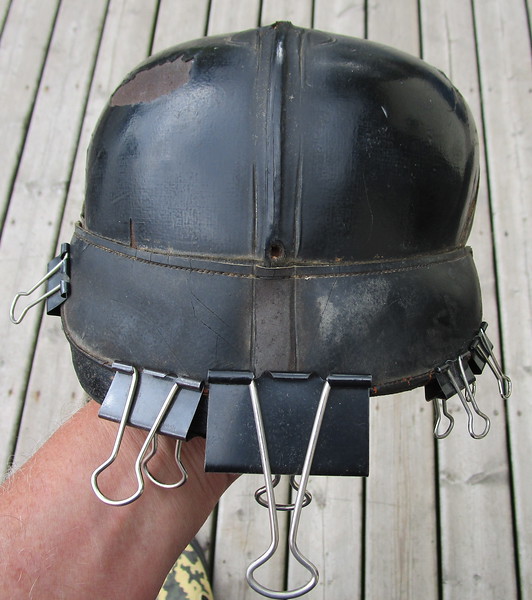
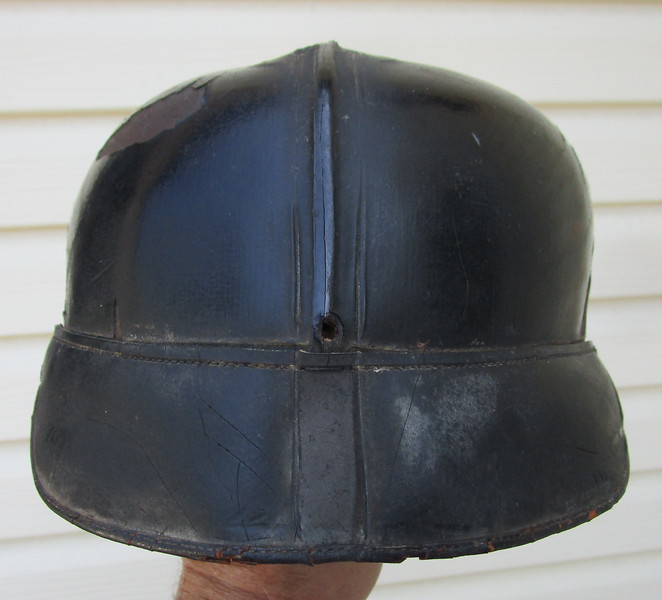
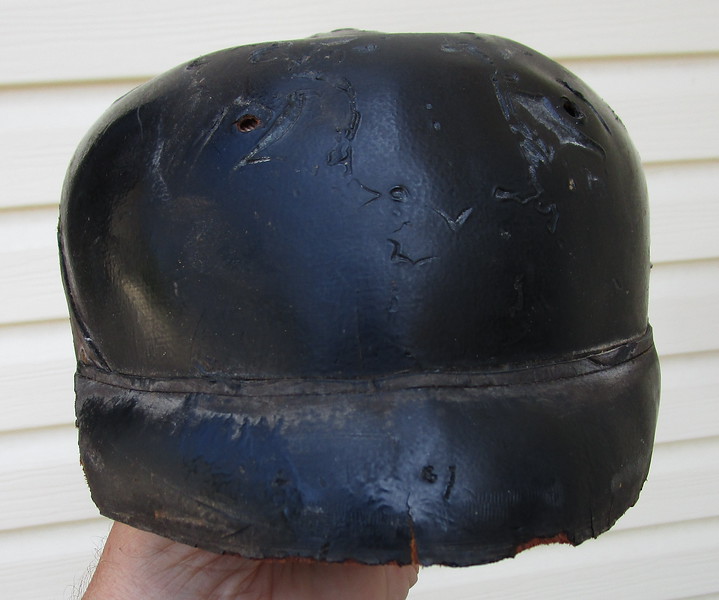
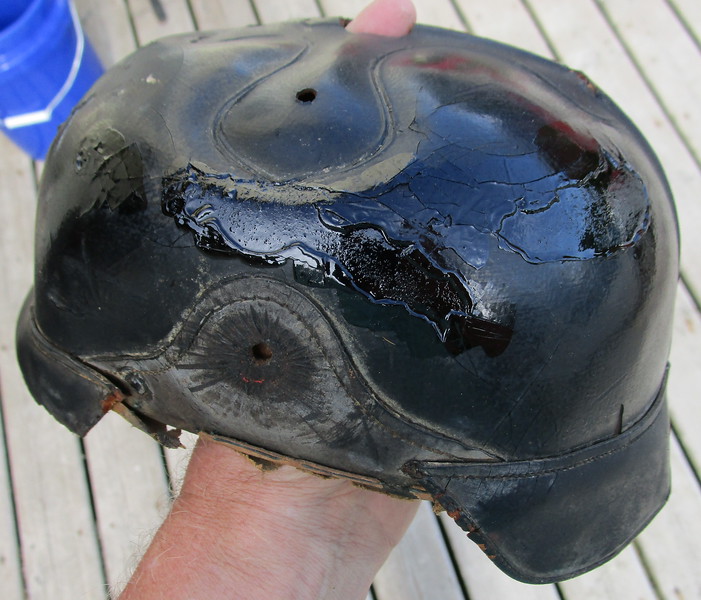
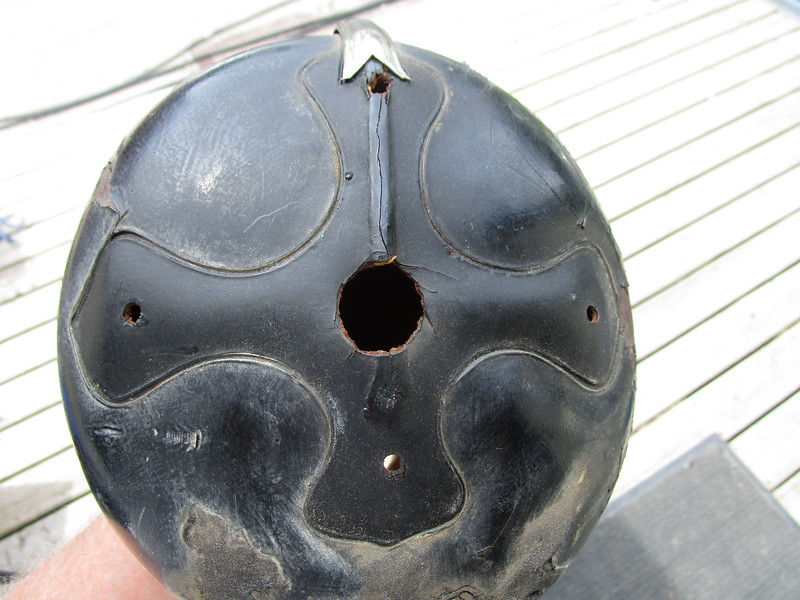
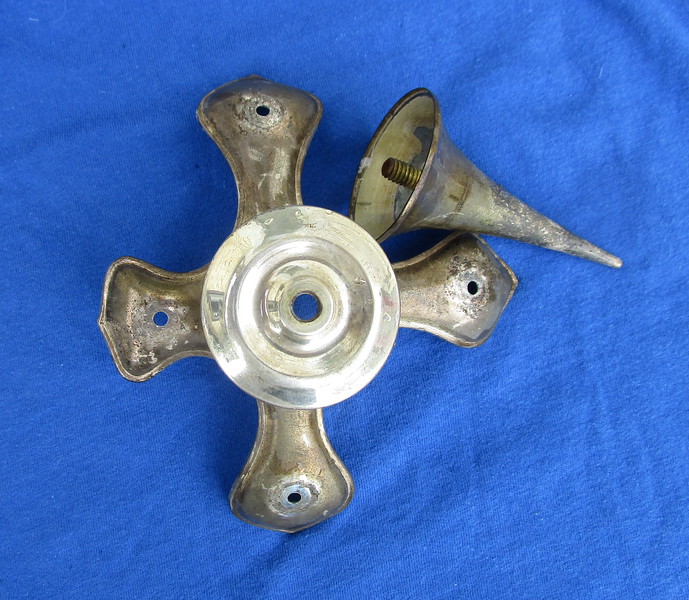
Fortunately, the top is in good shape, more often than not, these cruciform tops are sunken in.
IMG_0599-L.jpg

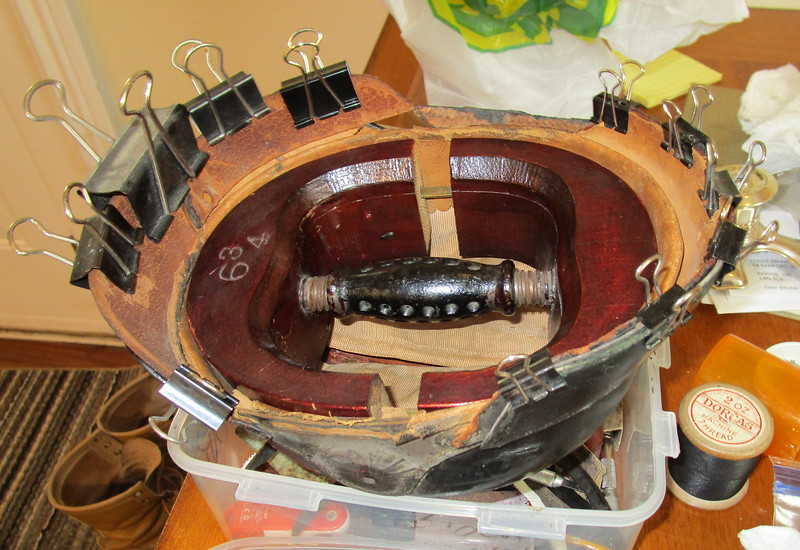
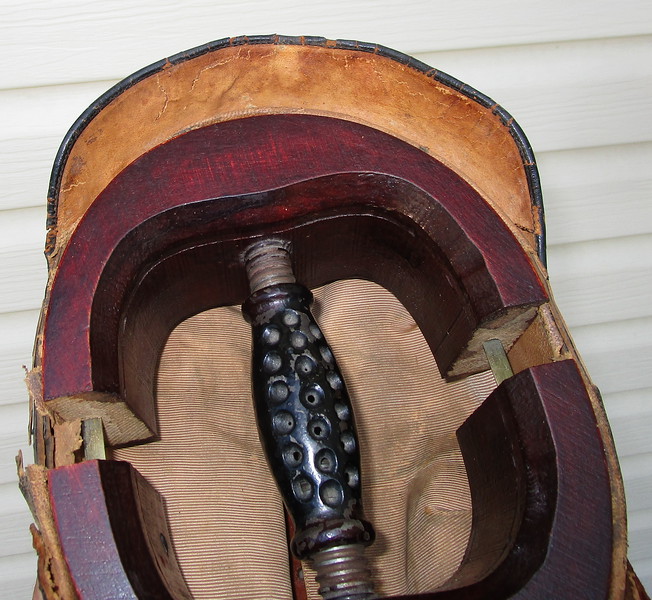
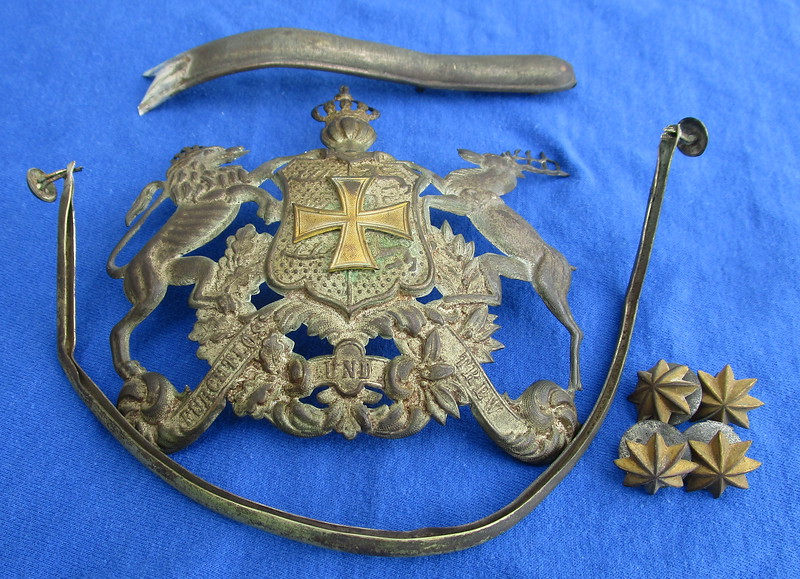
The spike top unscrews for the trichter and also reveals the original neusilber finish.....100 years of oxidation and "crud" on the rest. The fittings on this helmet as the pictures show were very dirty.
IMG_0601-L.jpg

The uncleaned fittings removed from the helmet. The visor trim is bent out of shape due to the shrinkage of the front visor. This helmet has been subjected to heat a some time, not enough to melt the finish but enough to shrink the visors.
IMG_0607-L.jpg

IMG_0614-L.jpg

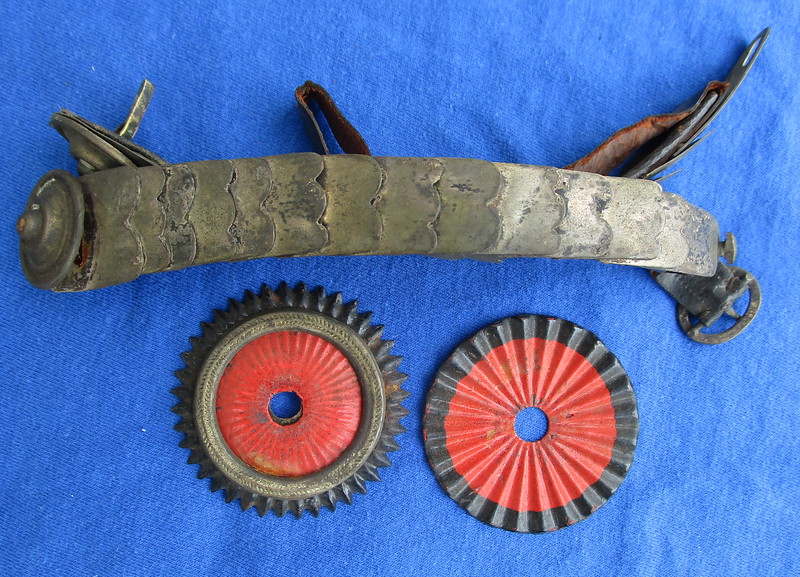
The neusilber flat scales and kokarden, there are 13 scales plus end fitting...always count the scales when buying these. There are 2 reasons for doing this, first so you know they will fit your helmet and second so you know they are a matched pair :).
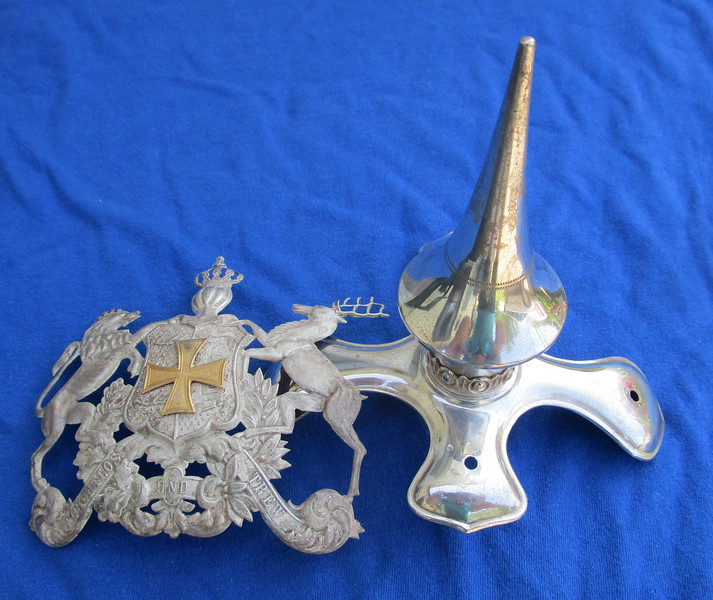
All fittings have now been cleaned, what a difference! :D
IMG_0621-L.jpg

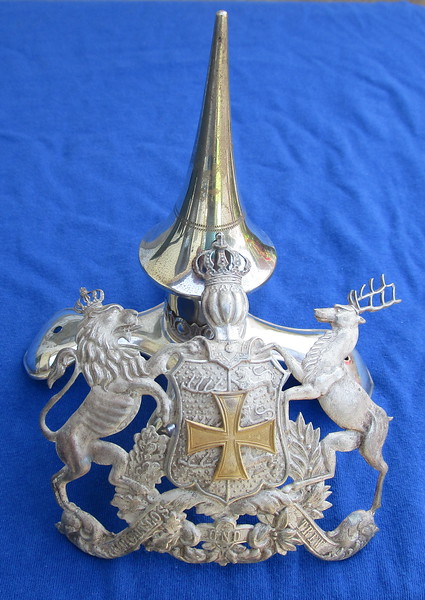
There is a bit of pitting on the spike top but all in all things have cleaned up nicely. The frosting on the wappen is excellent!
IMG_0622-L.jpg
 
As I post this, the shell is in a sealed plastic bag with wet newspaper being hydrated. My hope is to be able to get enough moisture back into the rear visor to reshape and block it without removing it from the shell. The stitching on this helmet is extremely fine, a real nightmare for restitching!
 
Brian, what did you use to remove all the dirt and get the silver hardware to shine?

Yes, I can imagine the stitching that you have to do, it's a nightmare and if too much force is exert, the intervals between the holes may break and our heart skips a bit when that happen LOL
 
I am now using a sonic cleaner Amy, Hagerty Silver Foam and a buffing wheel with jewellers’ rouge. All parts are first put through an hour of sonic cleaning then depending on the part, the other two methods. For example the spike and spine were buffed, while the wappen was cleaned with Hagerty. The sonic cleaner solution leaves a film of discolouration which has to be removed. Sonic cleaners can be bought over the internet, their use can be seen on YouTube and the formula for a home made cleaning solution is there as well. Gunners use sonic cleaners to clean their brass shell casings.
 
Regarding the “intervals “ between the holes being broken Amy, use contact cement to glue a strip of linen cloth along the broken stitch line. Dye the cloth black before you do this so it does not show.
 
Thanks Brian, does the Hagerty Silver Form works on brass fittings as well?

Wouldn't there be black linen in the market instead of dying it black?
 
Yes the Hagerty works on brass and is available on the internet. I suppose you can buy black linen Amy but I just have old hanker chiefs and cut off what I need. You glue the strip( contact cement) to the back side of the stitch line. Your thread will still pull through the broken bits of leather but because of the linen, it does have something to grip to and hold the visor to the shell. I have actually tried to glue those tiny bits between the stitch holes but the thread always breaks through when you try to stitch the area.
 
Hagerty Silver Foam is also brilliant for reviving dull gilt. I tried it on British
Home Service Helmet metalwork and plates after reading some of Brian’s posts about using it on haube gilt and have had some great results. Patrick
 
Hey Brian, it just cross my mind that the Silver Reserve Wurtt that you are holding on is a Beamte or Unter-Beamte Helmet. I did a comparison chart and is hereby attached.
 

Attachments

  • 26062019123208-0001.tif
    47.2 KB · Views: 6,075
As mentioned previously, after the fittings were taken off the helmet was "bagged" and humidified for approx 4 days. You must keep an eye on this everyday just to check on things. On one helmet, I learned a lesson when I forgot about it and came back to mold and peeling finish, so don't leave it in there too long. In this case, the process worked well and the leather came out soft and supple. The piece was then blocked as you can see in the following photos:
IMG_0625-L.jpg

The rear visor was blocked first using clamps and pieces of broken OR's rear visors which act as stiffeners and cover more area than the clamps. Like the Prussians, I never throw anything away. :) An antique hat stretcher is placed in the shell to block it.
IMG_0627-L.jpg

A view from the outside...you can see the broken OR visor piece in use.
IMG_0626-L.jpg

IMG_0628-L.jpg

The same thing was done to the front visor in order to block it, only in this case a spare square officer visor was used with the paper clamps. I am going to let this dry for a week. I tried to refit the silver trim on this visor so it would help reshape the leather but no luck. I could not get it back on....not yet anyway. If at all possible I do not want to restitch these visors but the front one may have to be taken off. :(
Yes, I highly recommend Hagerty as well :thumb up:
 
Some photos of where we are at now on this restoration:
IMG_0629-L.jpg

The rear visor has been straightened successfully.
IMG_0630-L.jpg

This helmet, although private purchase officer, does not have the usual red and green on the underside of the visors. Instead, we seem to have a paper thin leather lining to both visors.
IMG_0631-L.jpg

The front visor still has problems, that split is going to have to be fixed.
IMG_0632-L.jpg

The other part of this restoration involves replacing missing finish. The bare areas are sanded before applying the first coat of shellac. In manufacture, our helmets were always sprayed on the flesh side of the hide as this gives a rough surface for the shellac to bond to. Sanding today roughens up the surface again. The inside area of our helmets is actually the "hair side' of the original cowhide.
IMG_0633-L.jpg

Two coats of finish have been applied to the bare areas. The excess seen at the edges will be sanded off. You can also see just how thick the original finish is. Winter with its "dry air" low humidity is really the best season for this work as things dry quicker. However, we can't pick our "seasons" for doing this. We have original pictures here on the forum showing racks of sprayed shells being put into some sort of drying oven. So we know, that this is how it was done. However, I have never tried drying a haube in my wife's kitchen oven. :)
 
Things are looking great !!

Do you make your own shellac ?

I buy mine from Home Depot and tint it black .

Have you ever used shellac flakes ?

The late George B. told me he made his own with shellac flakes .

By using the flakes he was able to make his shellac as thick as possible .

On some of my repairs I was able to use masking take to help pool the shellac were I wanted it to go .

But off course the tape gets stuck and needs to me sanded off.
 
Yes Mathew, like George, I make my own shellac from flakes and I dye it. I do not use store bought shellac. Years ago there was another collector in my area who tried to do refinishing using the commercial stuff and he made a real mess of a couple of helmets....it ran everywhere! Good idea about the tape, I have never tried that. I wish someone in Europe could find a description of exactly how this was done. How many coats, how was it dried, what temperature, what formula/recipe ?? Shellac was used as a waterproofing even on horse harness. I wish I had pursued this topic with George, he may have known. He did show me a Prussian officer haube which he had made one year at the MAX show in Pittsburgh.
 
Yes I made the leather shell for him.

I finally mastered the technique after many trails and errors.

That was before you could get one every other week on ebay !

I also made the visor trims and rear spines back then .

Now it is not nesissary to do that as well.
 
Back
Top