This helmet of Alan's has already been posted, now we are going to look at how to restitch a tschapka visor:
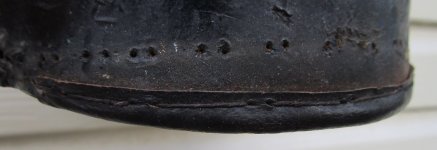
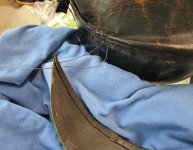
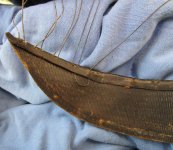
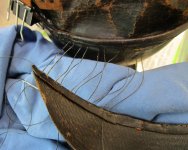
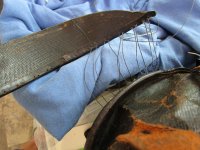
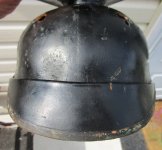
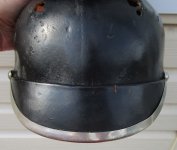
The problem here, which is common to tschapkas is that the visor needs restitching. Tschapka visors look cool because there is no stitch line showing across the visor. However, this also creates a weak point in the helmet. The tschapka visor is multi layered...there is the inner core and three thin layers of leather glued on, one on the inside and two on the outside. The inside layer can be black paper on an OR's issued helmet or black finished leather as on this piece which shows signs of being a custom purchase item. The two outside layers are composed of a thin natural coloured layer and then the glossy black finished surface. These two outside layers are what is stitched to the shell. These layers and the visor are placed vertically against the shell and then stitched with a series of running/tack stitches. The visor is then pulled down into position and we now see the folded upper edge of the visor with no stitching showing. After 100 years, it is fairly common to see this fold split and broken and I don't see anyway of fixing that. In this case, the threads had simply rotted out. To be continued.....
The problem here, which is common to tschapkas is that the visor needs restitching. Tschapka visors look cool because there is no stitch line showing across the visor. However, this also creates a weak point in the helmet. The tschapka visor is multi layered...there is the inner core and three thin layers of leather glued on, one on the inside and two on the outside. The inside layer can be black paper on an OR's issued helmet or black finished leather as on this piece which shows signs of being a custom purchase item. The two outside layers are composed of a thin natural coloured layer and then the glossy black finished surface. These two outside layers are what is stitched to the shell. These layers and the visor are placed vertically against the shell and then stitched with a series of running/tack stitches. The visor is then pulled down into position and we now see the folded upper edge of the visor with no stitching showing. After 100 years, it is fairly common to see this fold split and broken and I don't see anyway of fixing that. In this case, the threads had simply rotted out. To be continued.....

