Naprawiacz
Well-known member
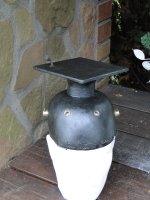
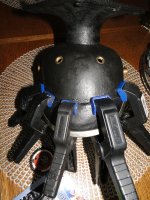
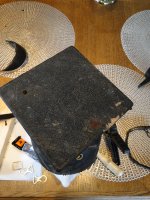
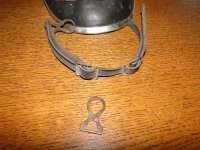
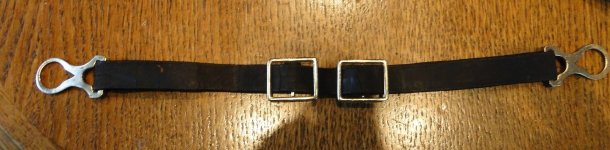
I cleaned all the metal parts and wappen.I repaired the belt and applied the first coat of primer.Now I am waiting for it to dry before applying the next coat.
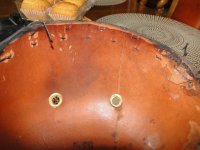
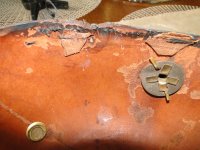
I will do the interior on Saturday when the first coat of polish dries.Could you show us a picture of the interior?
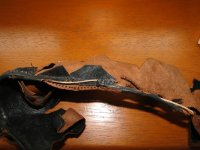
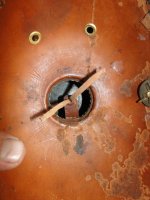
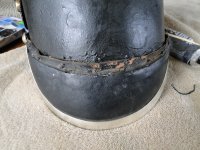
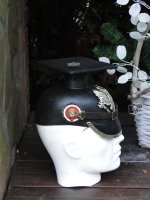
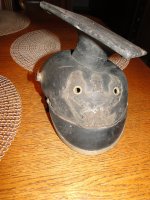
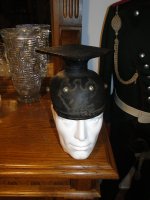
I acted very brutally and soaked the object in lukewarm water with spirit vinegar in a ratio of 10:1.After a minute of bathing, I started straightening the object by hand.After three minutes, the object was ready to be put on the dummy's head.After putting it on, I kept working with my fingers kneading the skin.I will receive the liner tomorrow from a colleague in Gdansk,who will also bring me a manual leather sewing machine, which I will test. Interesting is the way the sewing was done in this copy.Where there is a visor it was not sewn but glued and overlapped the edge.GreetingsExcellet Wojtek! How did you straighten the mortarboard top?? Are you going to make a liner for it or just leave the helmet as is?
This is a machine to facilitate hand sewing.It will not be machine sewing but hand sewing.Sometimes it is hard to write technical language through the translator.Oh my God....I WOULD NOT USE A SEWING MACHINE.....it should be done by hand. There's a good chance you could ruin it with a machine.
You have done an excellent job straightening it, please take your time with it...
Vinegar causes a reaction to soften the skin.You can do it with water alone,but it takes longer.Wojtek: Why put vinegar in the water ?
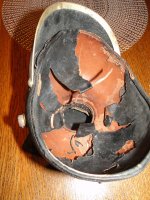
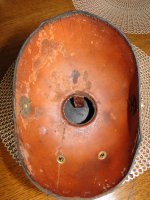
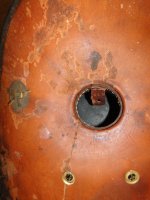
This UR 14 tschapka (kammerstuck) damaged liner as well, but readable stamp, once came to me with a very sunk in top, it stil is somewhat low, and skew, but quite straightened out as compared to the state it came in... by putting it on a dummy head after moistening it as you did (without vinegar)what a wonderful job, good idea to reshape the structure!, I did a similar job with a thschapka with sunk in top by putting it on a dummy head for a long time with good results as well, but are you going to replace the liner by a copy, or are you going to put back in the damaged one? I would prefer the original damaged one...

")